
DigitalOcean droplets do not accept .iso as an image file. We will install (windows server) Windows 10 on DigitalOcean droplet with the uploaded image file. We will also install windows on DigitalOcean on the virtual server first.
I will try two different methods for this.
1- Install the server with the Windows image that we will install on Virtualbox locally.
2- Install the server with the Windows image installed on the DigitalOcean droplet ubuntu qemu virtualization application.
Creating DigitalOcean Windows 10 image
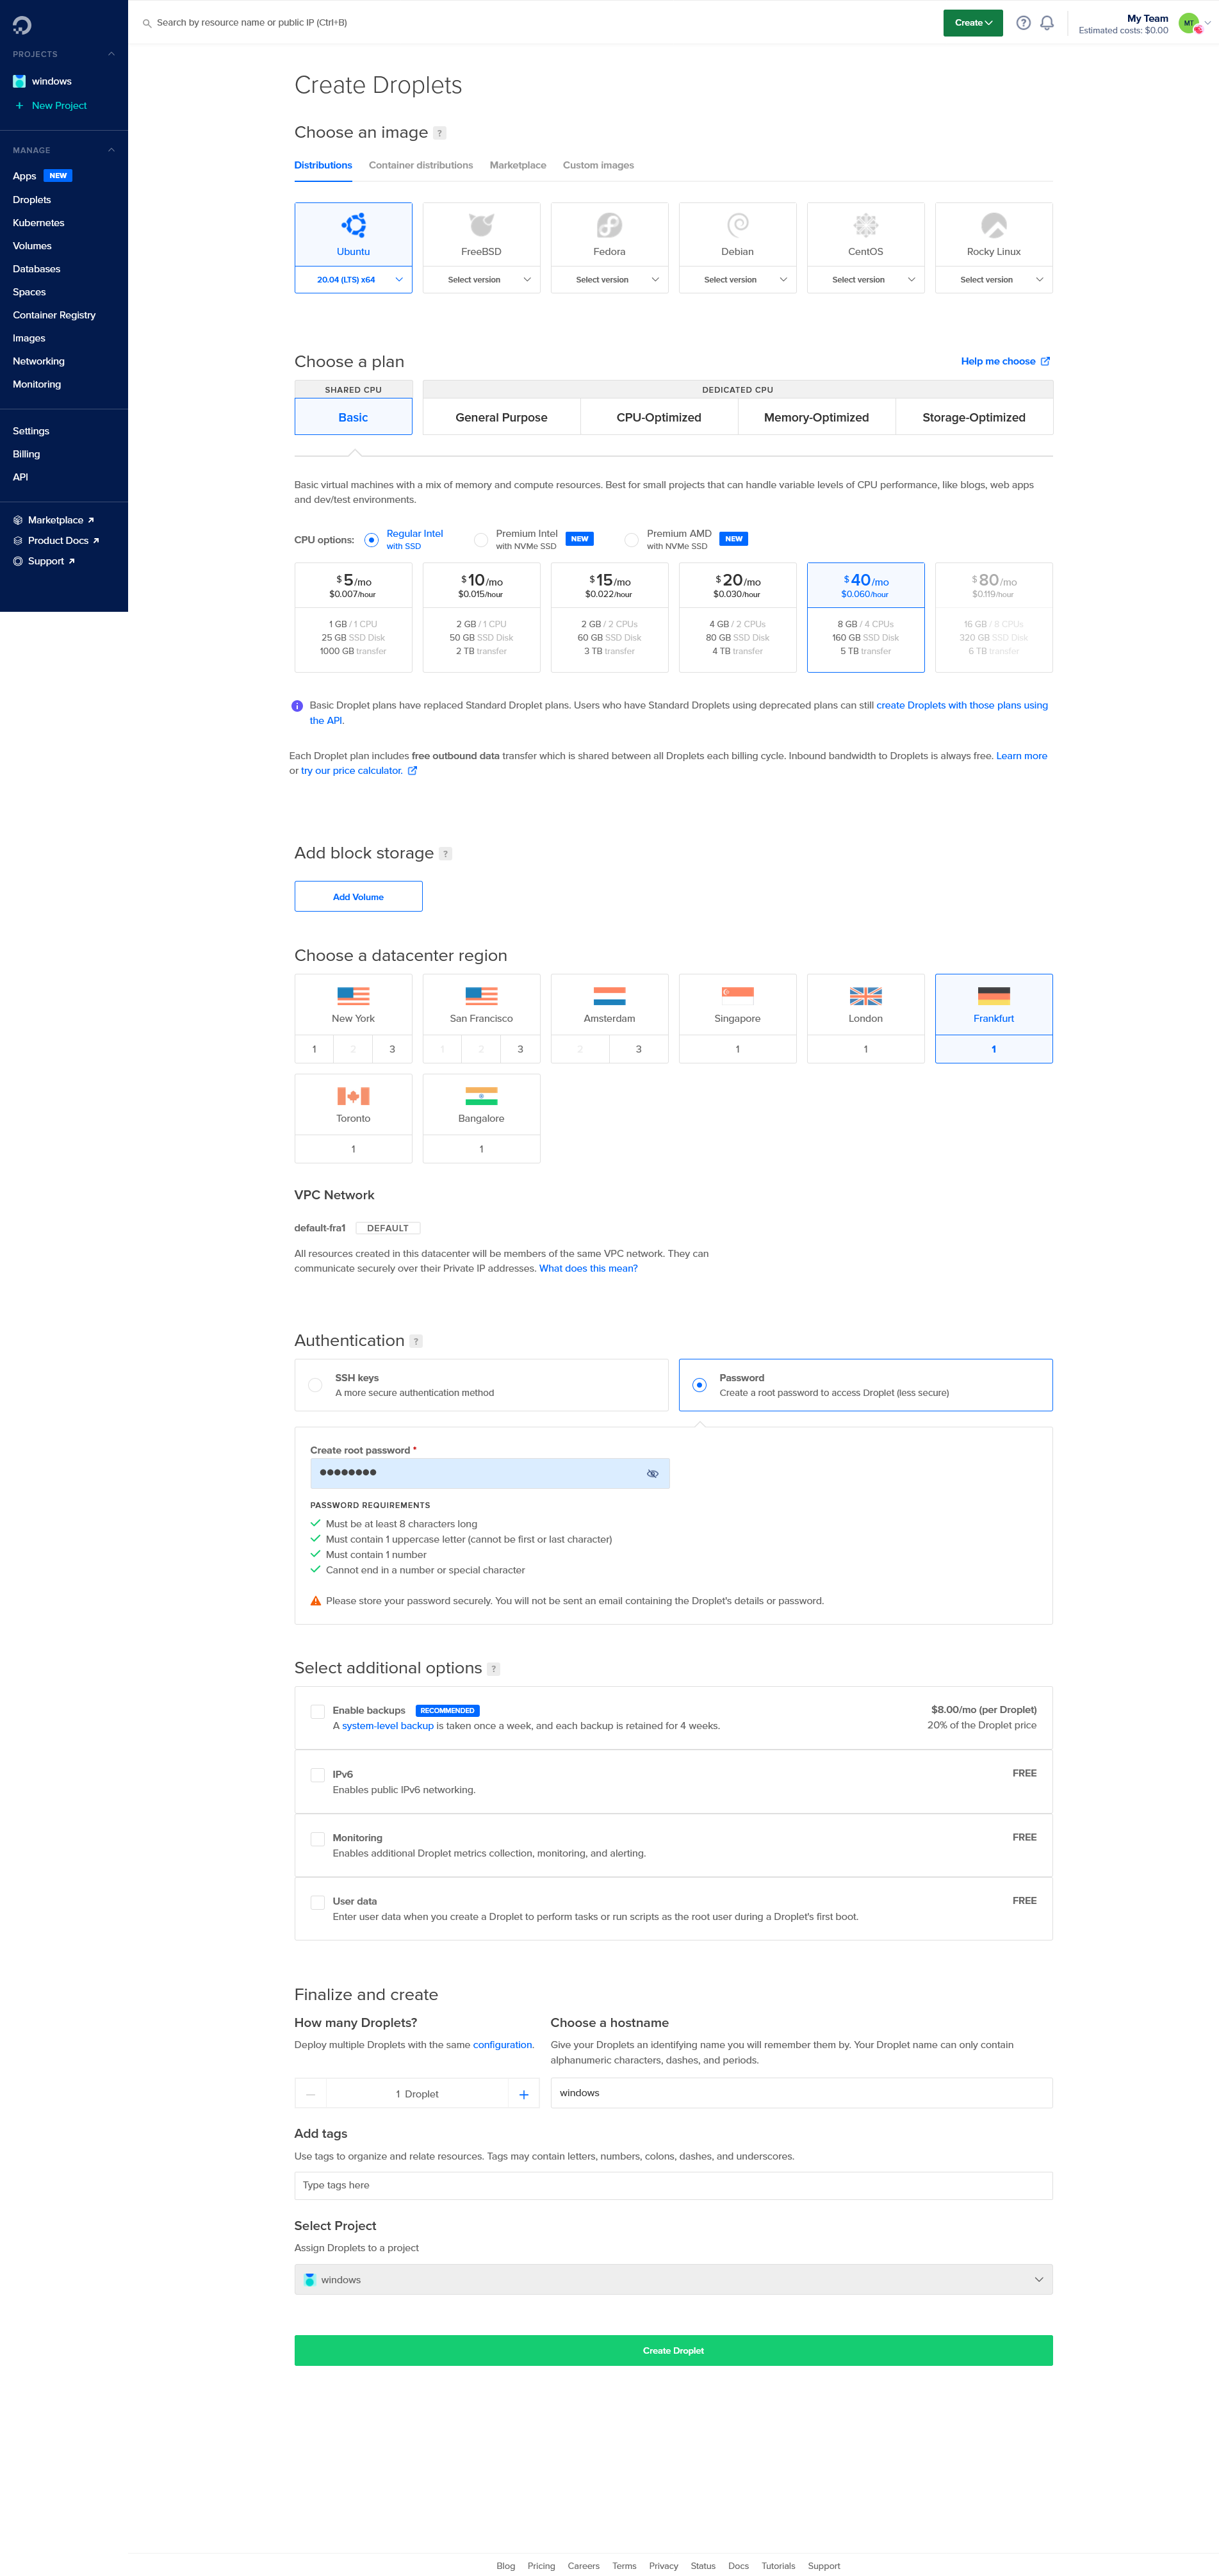
We’re constructing a high-performance droplet. Let’s go with Ubuntu as our distribution.
I chose a shared CPU for more convenience. As a data center, I choose Frankfurt because it is closer to my current location.
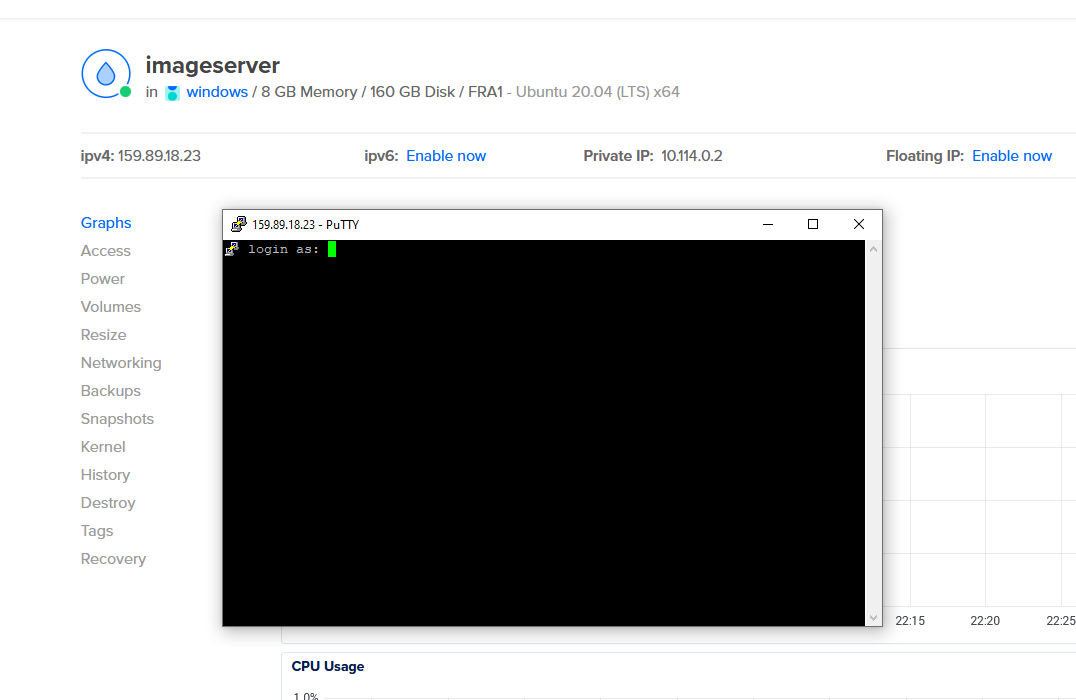
I chose “imageserver” as the hostname – important to remember later.

I am using Putty to connect to the server. If you don’t have it on your computer, you can use the DigitalOcean console.
When connecting to the server with Putty, I recommend setting the following setting to avoid timeout during extended operations. In the “Connection” tab.
We set “Seconds between keepalives” to 10.
The “Disable Nagle’s Algorithm” checkbox must be selected.
The “Enable TCP Keepalives” box must be selected.
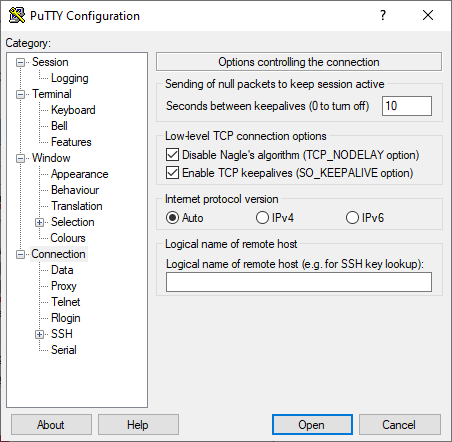
Now we need to keep these settings as default. So this setting will take effect every time we open Putty.
Make sure “Default Settings” is selected under “Saved Sessions”. We save the settings by clicking “Save”.
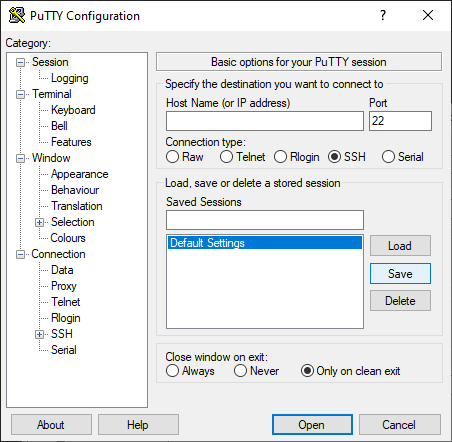
Using Putty, we connect to the server with the username “root” and set the password.
We are updating server packages.
apt-get update
We are installing the Qemu packages that we will use for virtualization.
apt install -y qemu-utils && apt install -y qemu-system-x86
We create an IMG file format with Qemu. We will use this file as the virtualization disk.
You can replace 32G with a size that suits you. Attention, the larger you choose, the longer the process takes. Let me remind you.
qemu-IMG create -f raw windows10.img 32G
the result of the process should be like this. The process takes a short time,
Formatting ‘windows10.img’, fmt=raw size=34359738368
We will need these drivers as we will be using a virtual server. We are downloading.
wget https://fedorapeople.org/groups/virt/virtio-win/direct-downloads/stable-virtio/virtio-win.iso
Now we need the iso file for DigitalOcean Windows 10 installation. We will download it from the Microsoft site.
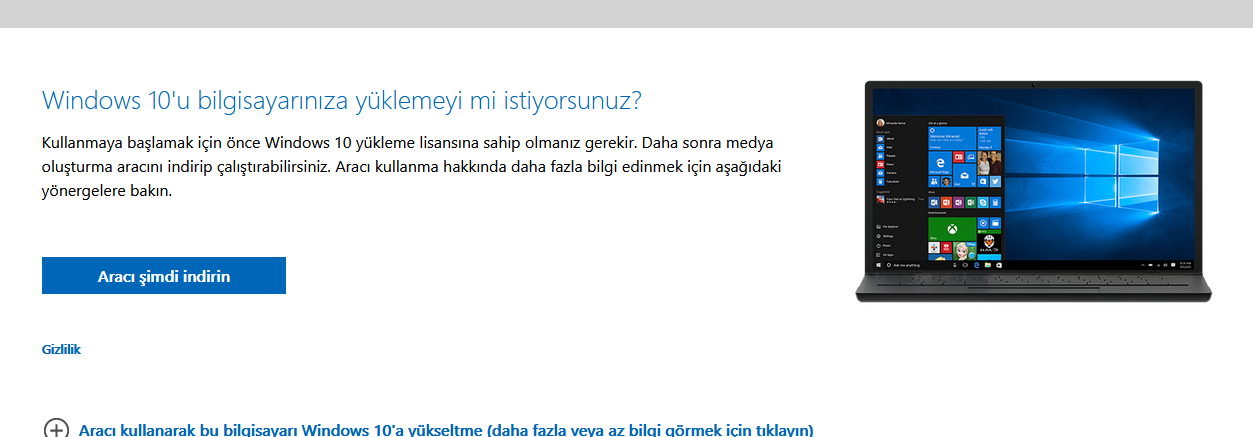
We continue by saying download the tool from the site in the link.
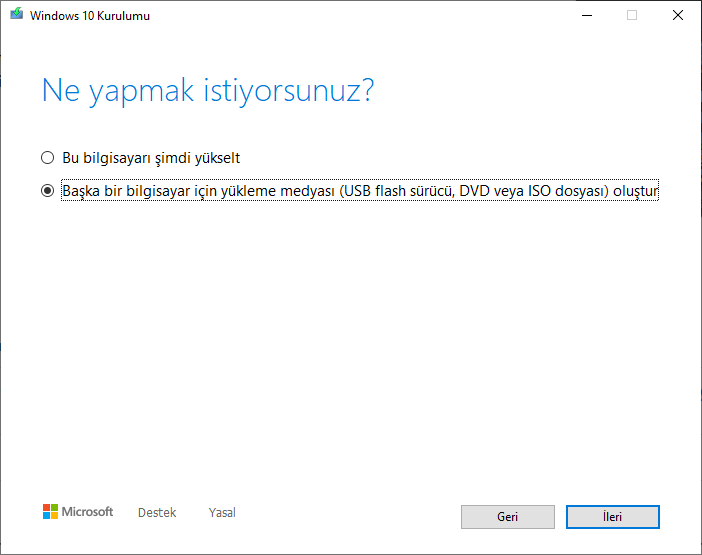
We run the downloaded application. We continue with the option “Installation media for another computer”.
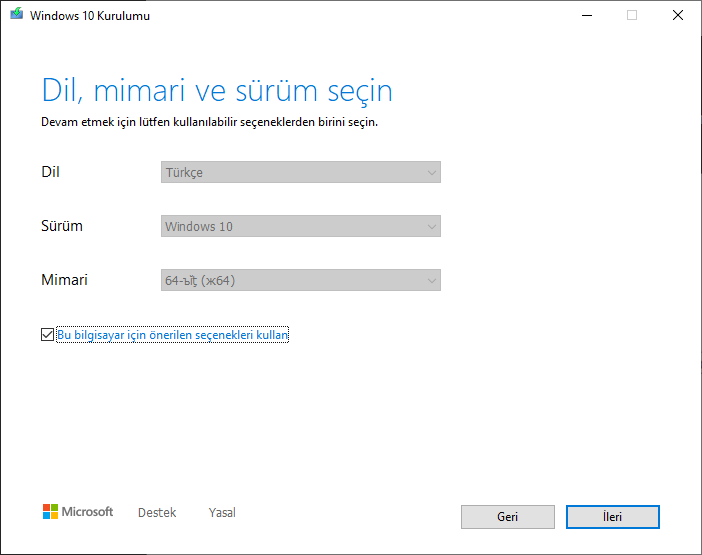
You can leave the settings like this,
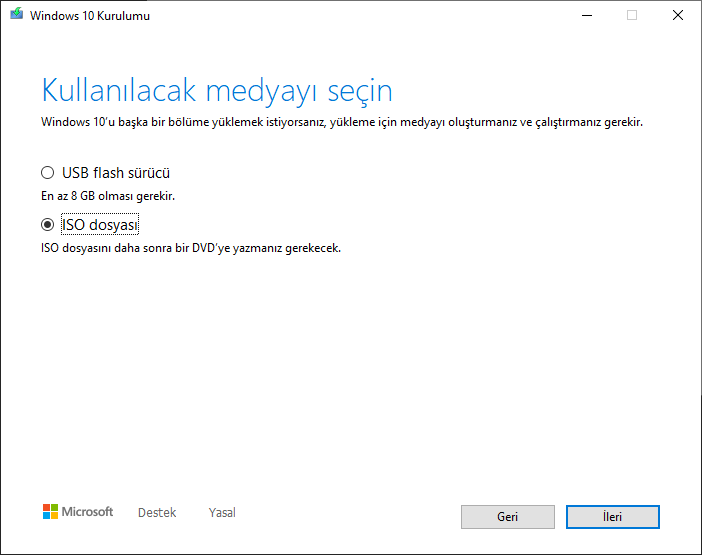
We choose “ISO file” as the media to be used. We continue.
When the download is complete, we upload the ISO file to one of the cloud storage applications such as google drive, dropbox and get the link. Make sure it’s “Anyone with this link can view”.

wget -O windows.iso https://www.dropbox.com/s/1yy3httsy3oo4kv/windows.iso?dl=0 -the link you created
The ISO files you can find on the internet may contain malicious software. Do not trust the windows 10 iso links you see on the internet. You download it from the Microsoft site and upload it to the cloud yourself, and set up your server in this way.
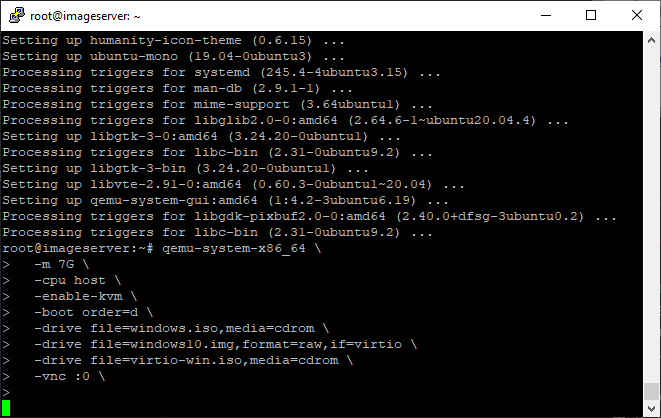
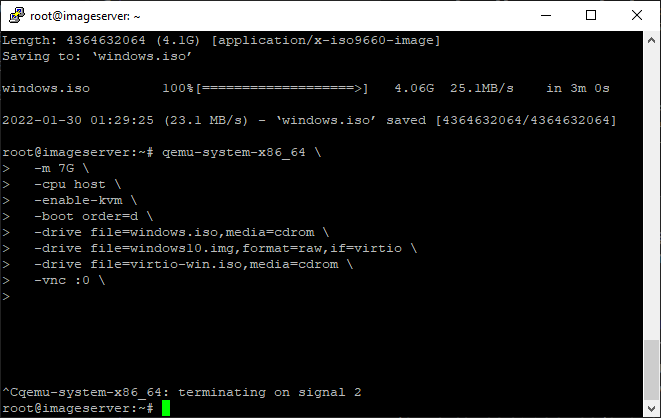
Now we will virtualize. We will use the Windows10.img file as the hard drive. We will use the windows.iso file as cd/dvdrom.
We will also make it accessible as vnc. Instead of 7G, you should write a value slightly lower than the RAM of the (imageserver) server you have installed. For example, since my server is 8G, I reserved 7G for virtualization.
qemu-system-x86_64
-m 7G
-CPU host
-enable-KVM
-boot order=d
-drive file=windows.iso,media=cdrom
-drive file=windows10.img,format=raw,if=virtio
-drive file=virtio-win.iso,media=cdrom
-vnc :0
After pasting the code, you have to press enter twice. The standby screen should look like this.
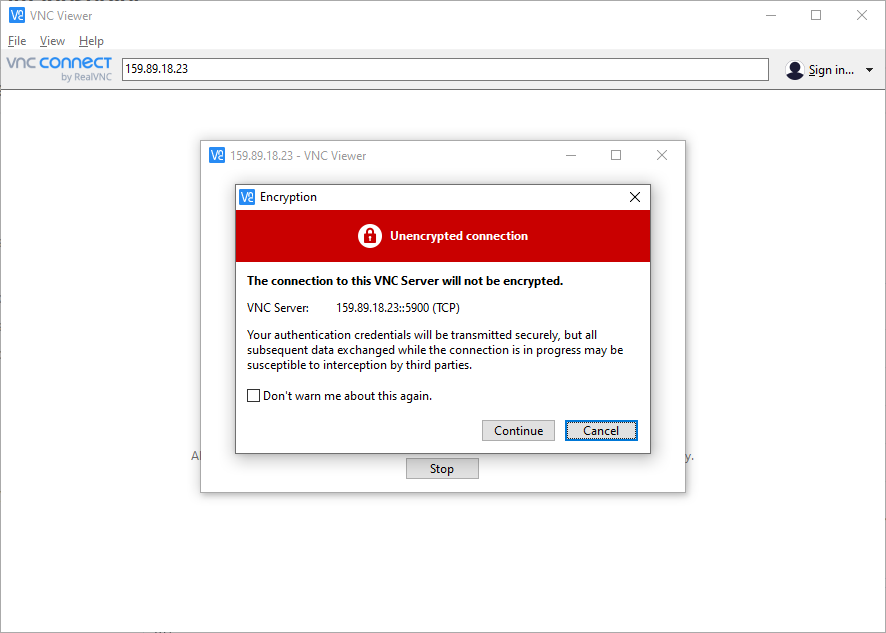
Now we will connect with VNC. I used RealVNC company’s VNC Viewer application. RealVNC can download it here.
We connect to the virtualization software from the VNC Viewer application with our IP address.
If you get an encryption warning like this, you can say continue.
Now we reach the installation screen. If you see a black screen, wait. It may take time for this screen to appear.
Mouse synchronization can be a bit of a hassle. If it’s too bad, the keyboard’s tab, arrow keys, and enter key will suffice instead.
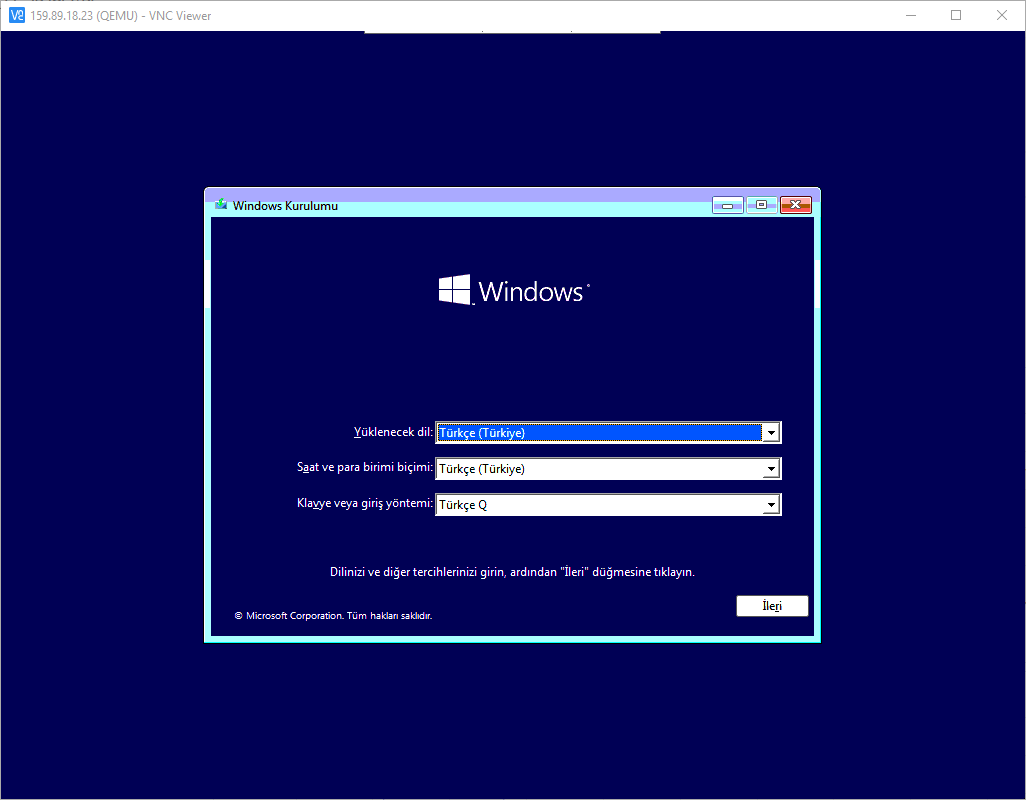
If the language options are suitable, we say next.
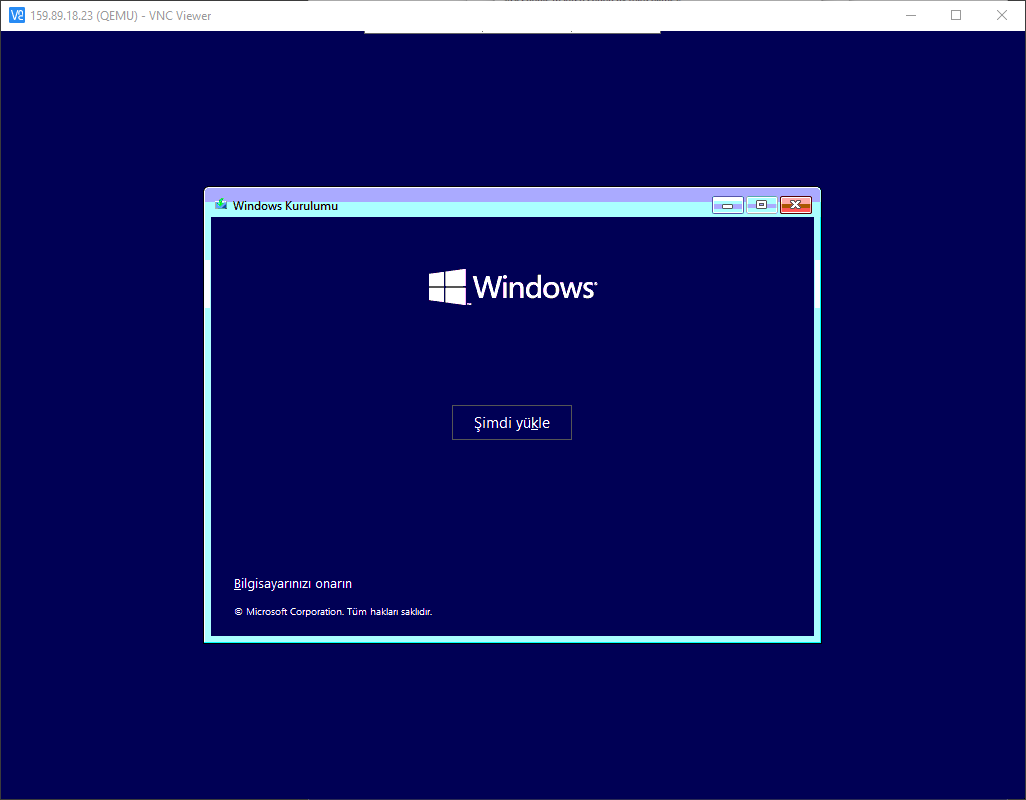
Let’s continue with the download now.
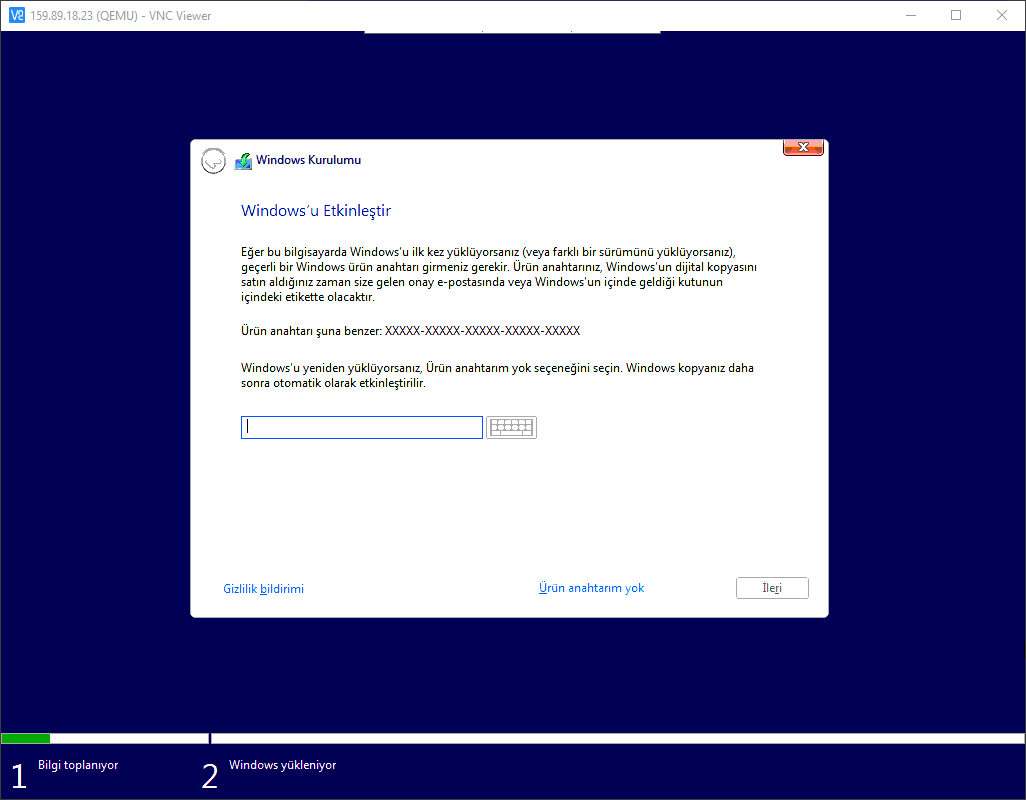
If you have a product key, enter it; if not, we continue by saying, “I don’t have a product key”.
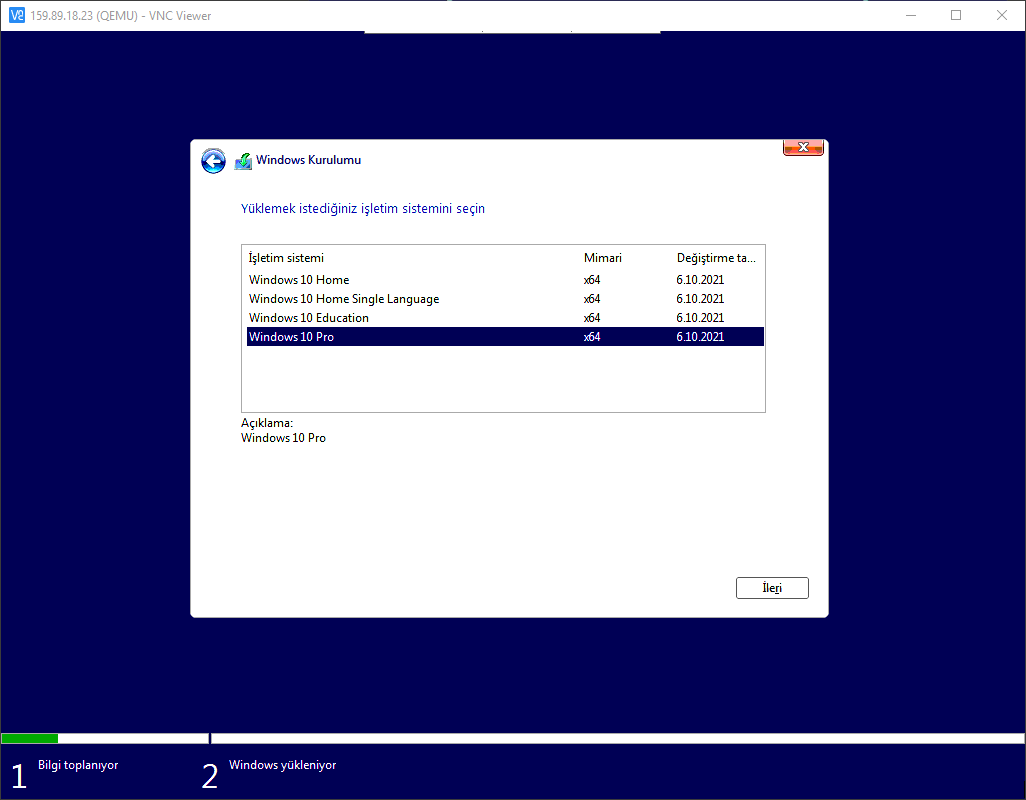
We select the appropriate operating system and click next.
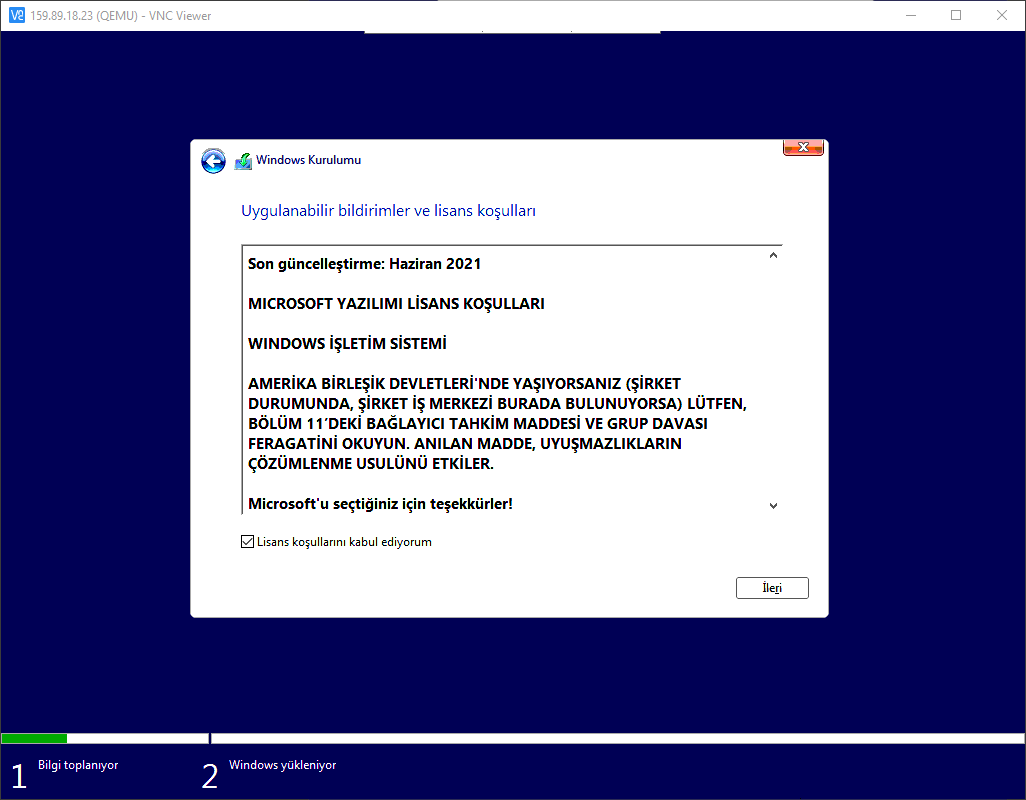
Select the “I accept the license terms” box and click “Next”.

We continue with the option “Custom: Install Windows only (advanced)”.
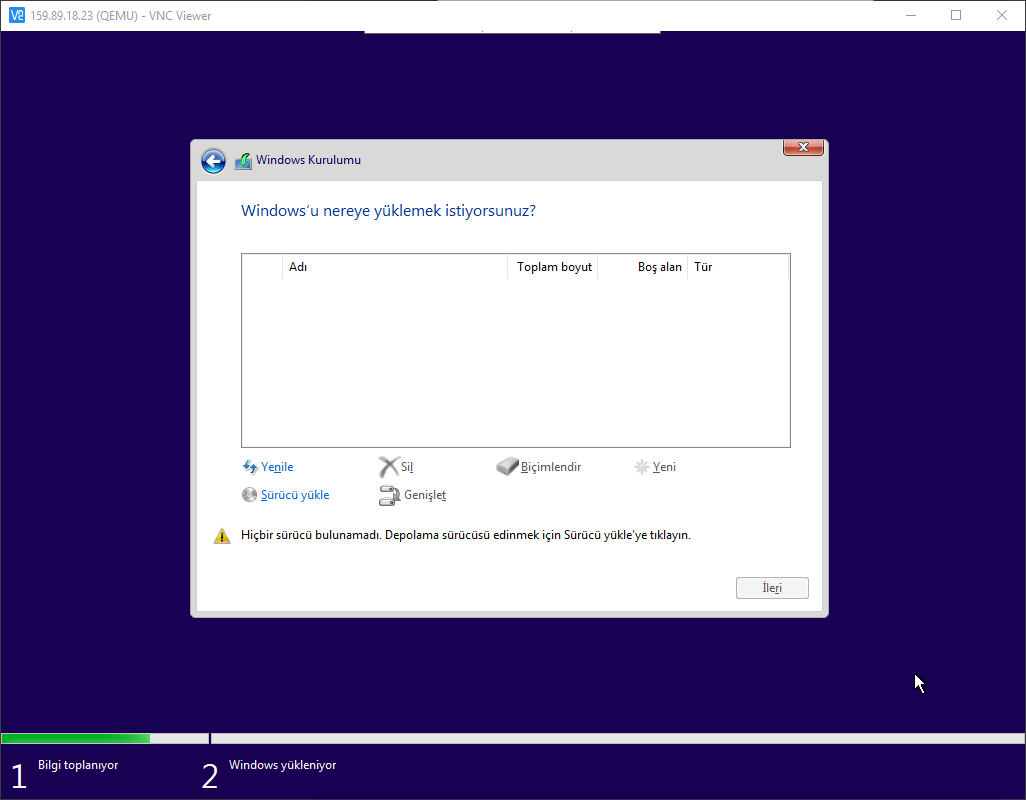
Select the Install driver option. Setup cannot display the disk because the disk driver is not loaded.
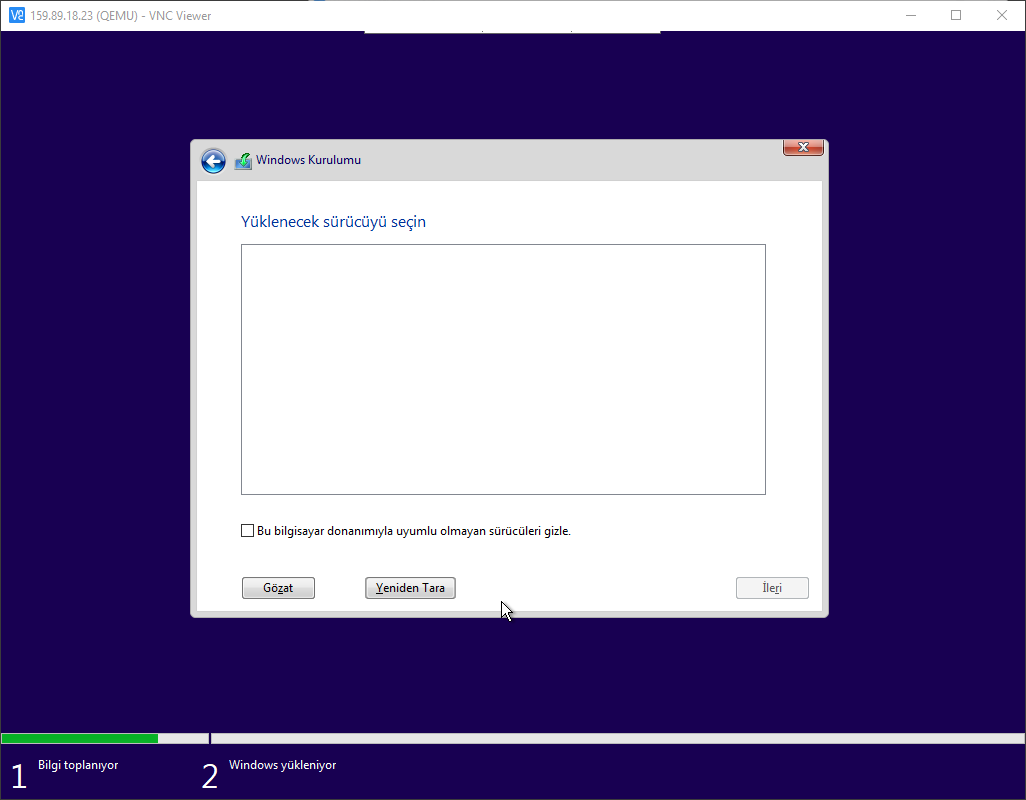
It would be best to uncheck the “Hide drivers incompatible with this computer hardware” box. Then click the “Browse” button.
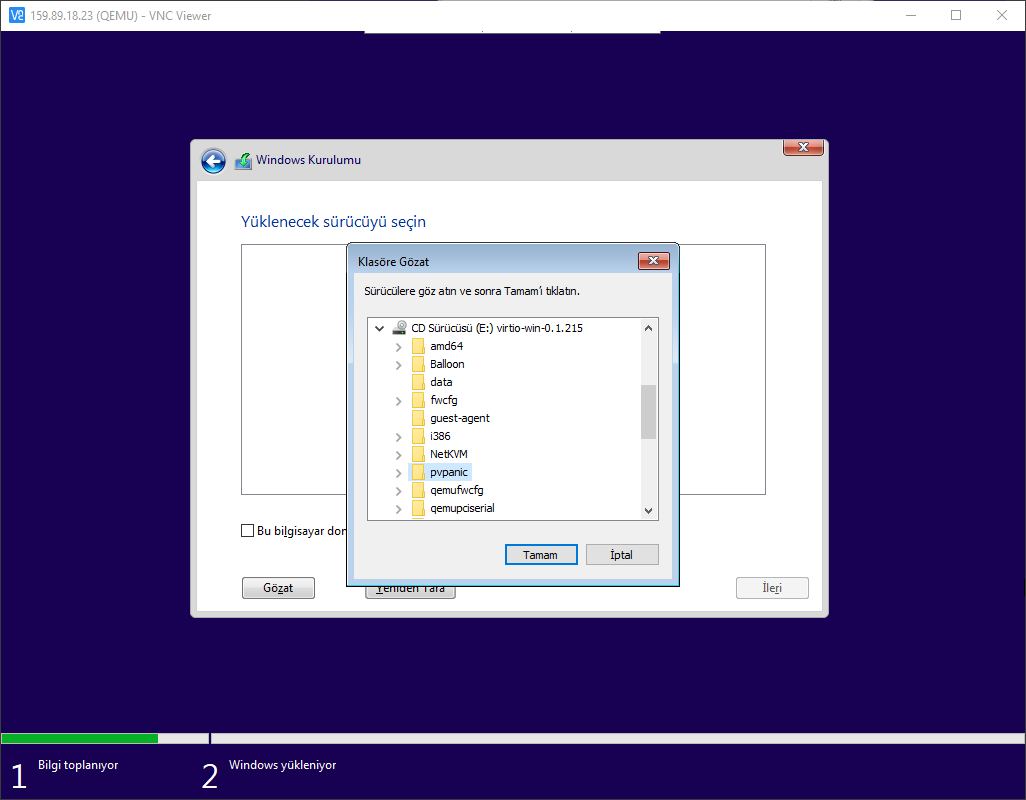
We will install the drivers included in these two files.
E:NetKvmw10amd64
E:viostorw10amd64
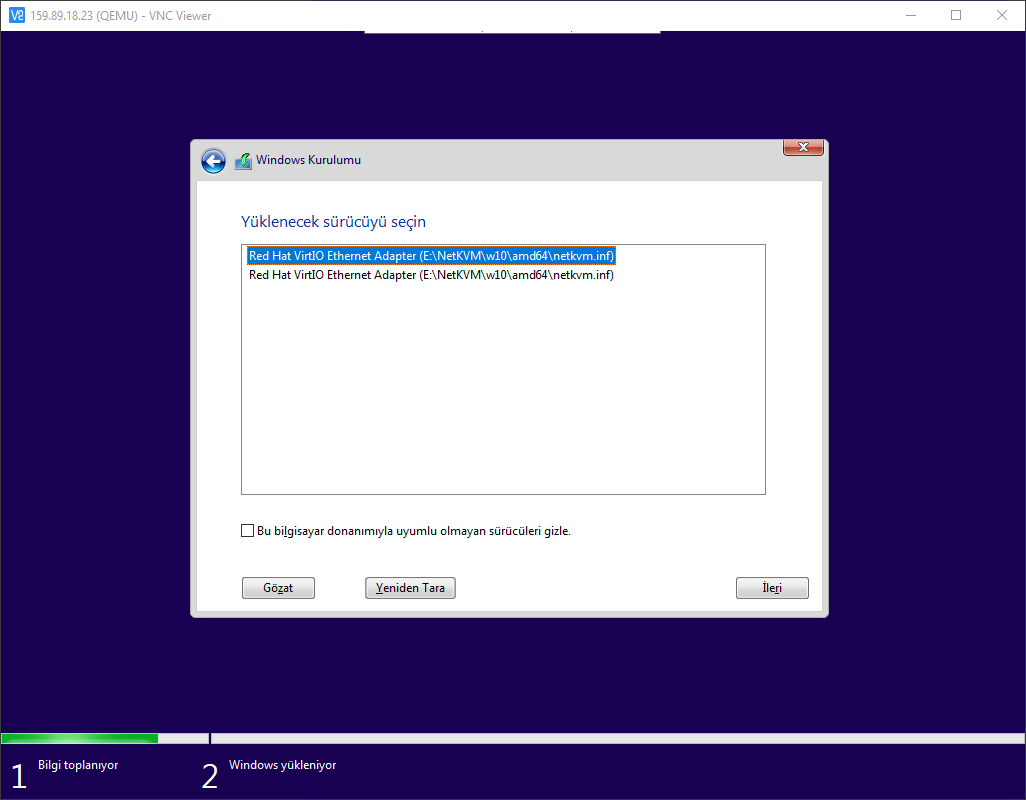
We installed the ethernet driver.
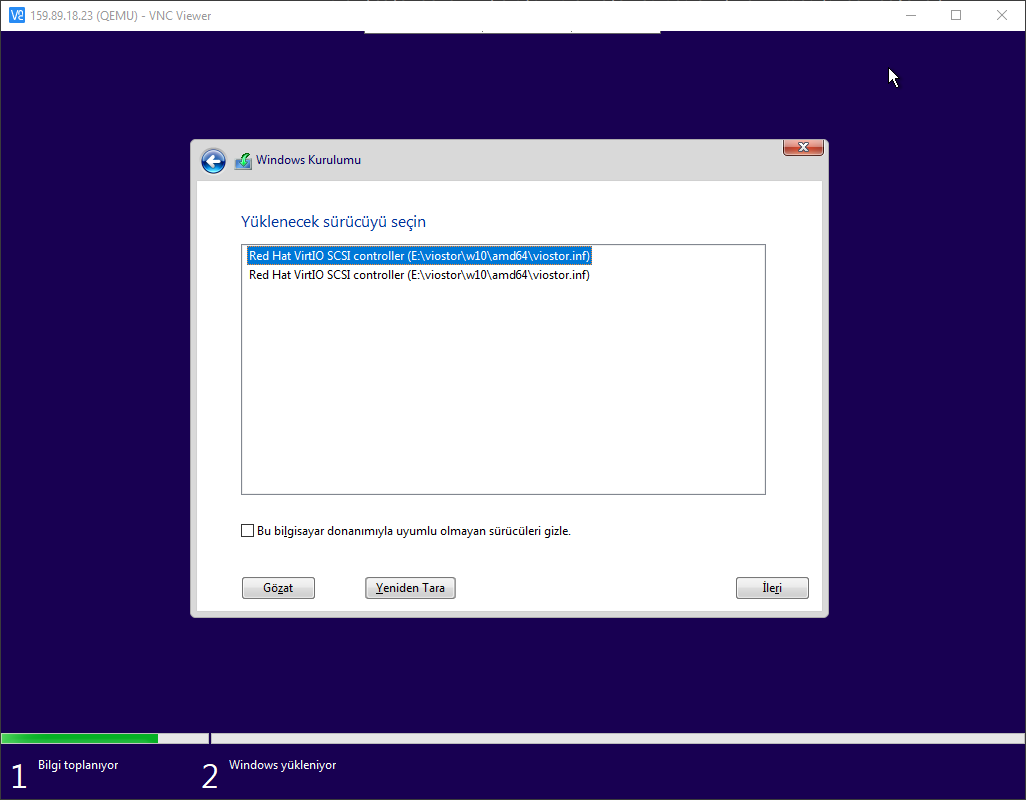
We have installed the SCSI Controller driver.
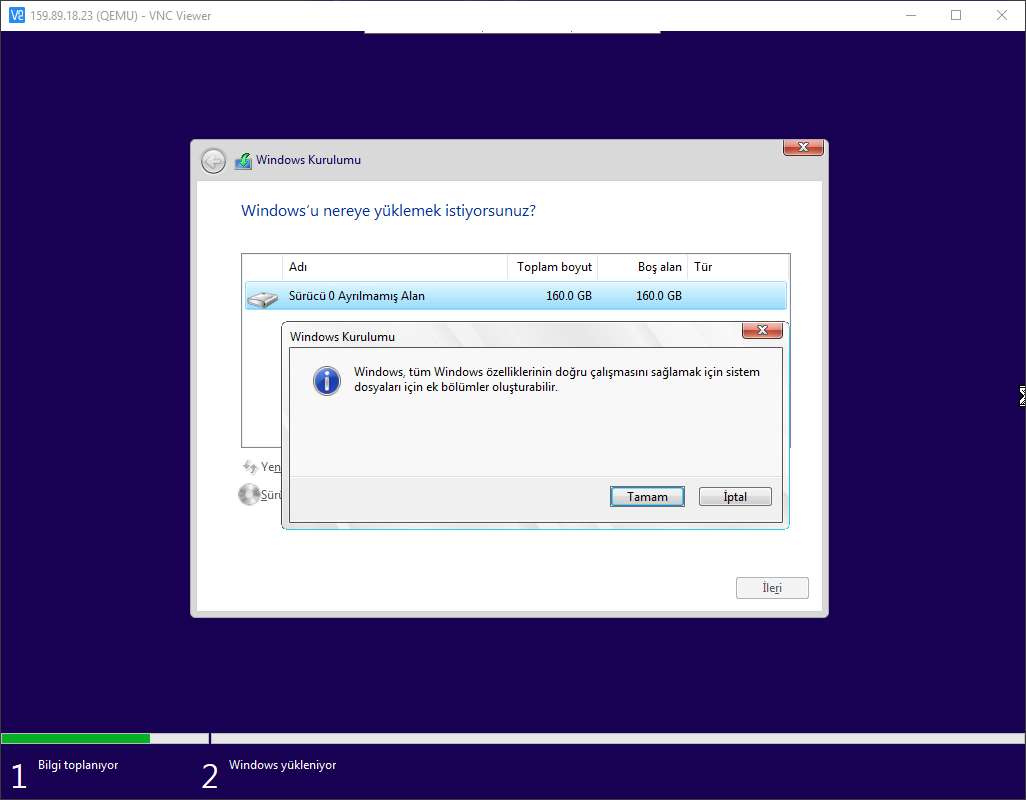
Now we press the “new button” and say “apply” to use our disk correctly.
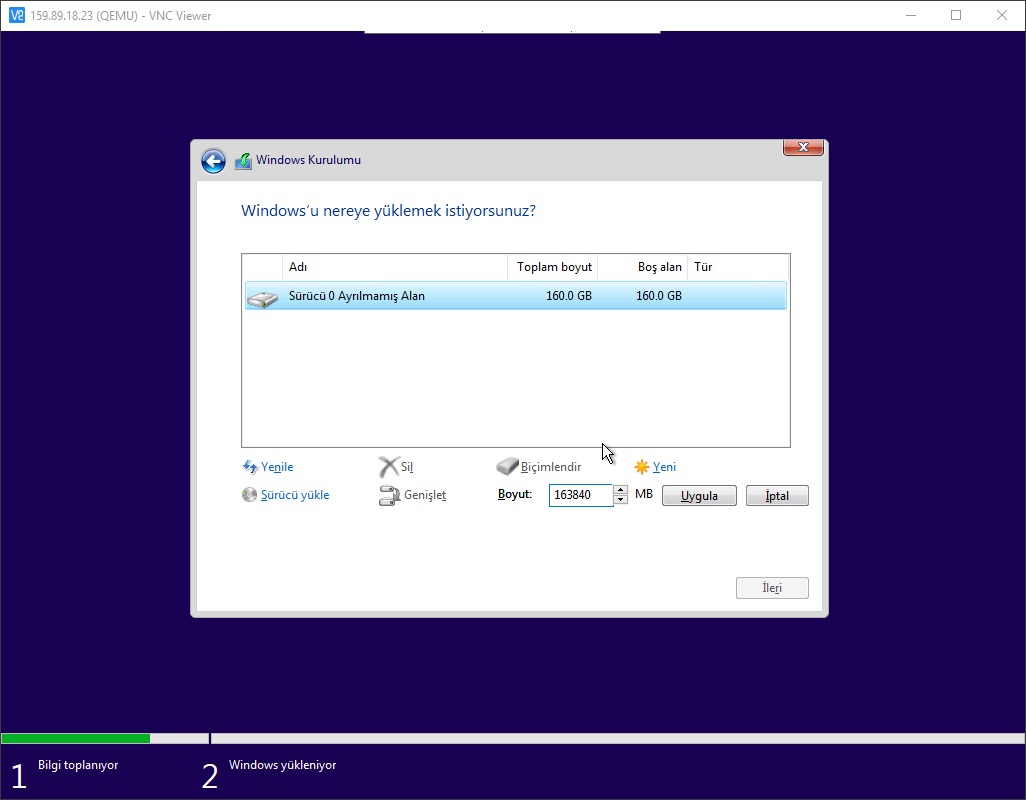
We say okay to this warning.
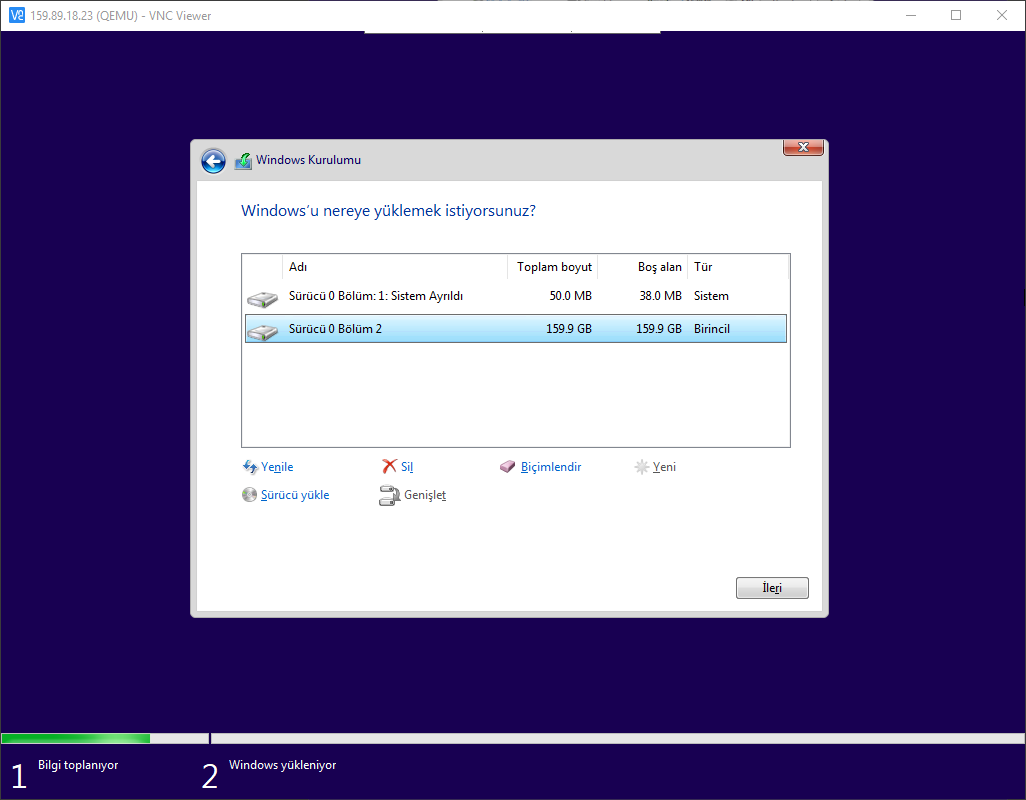
Now we select our disk and click next.
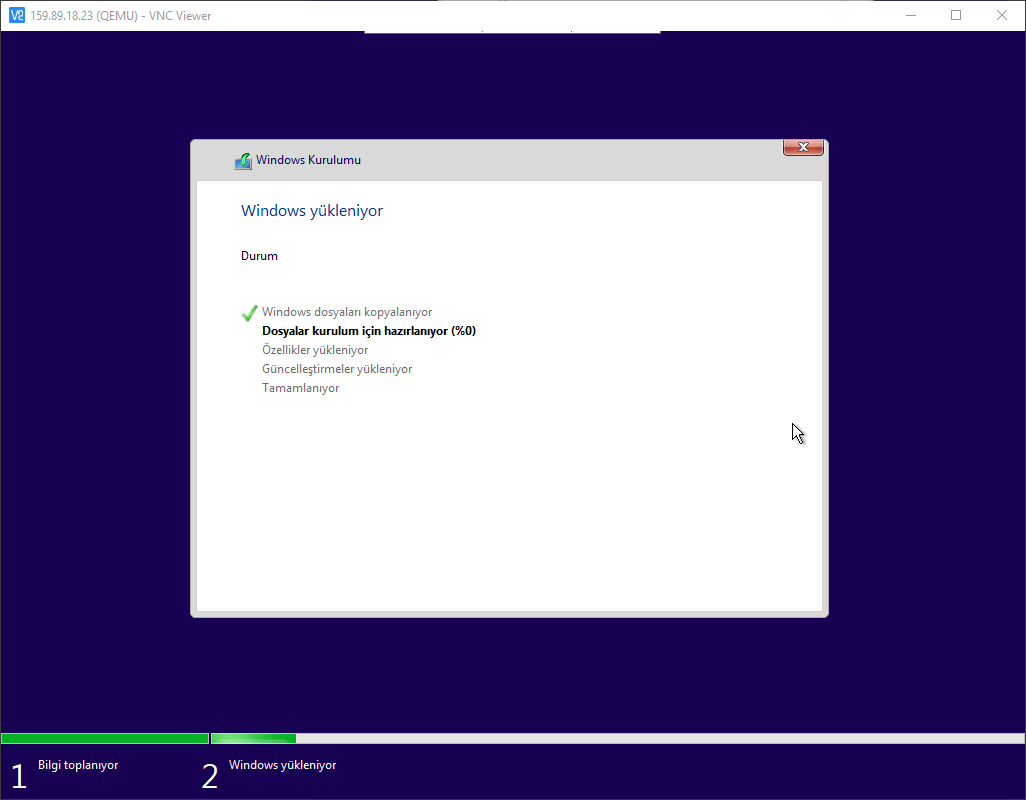
This step may take a while.
We have completed the pre-installation of DigitalOcean Windows 10.
Tick the “Settings for personal use” option and press the “Next” button.
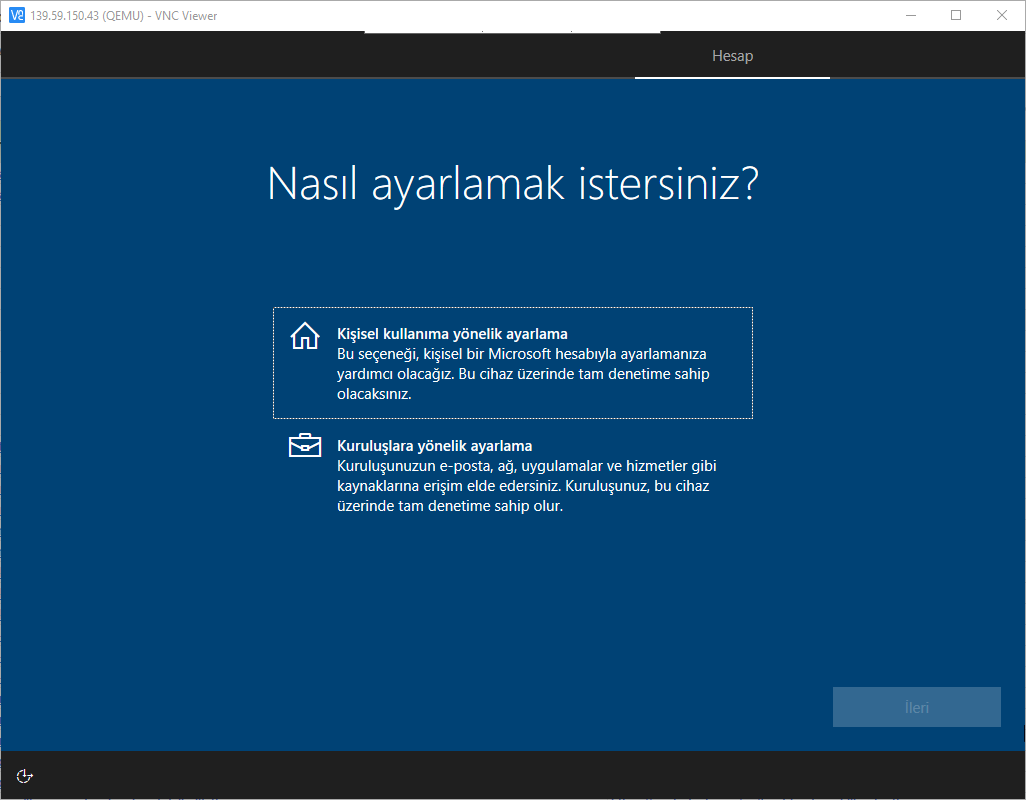
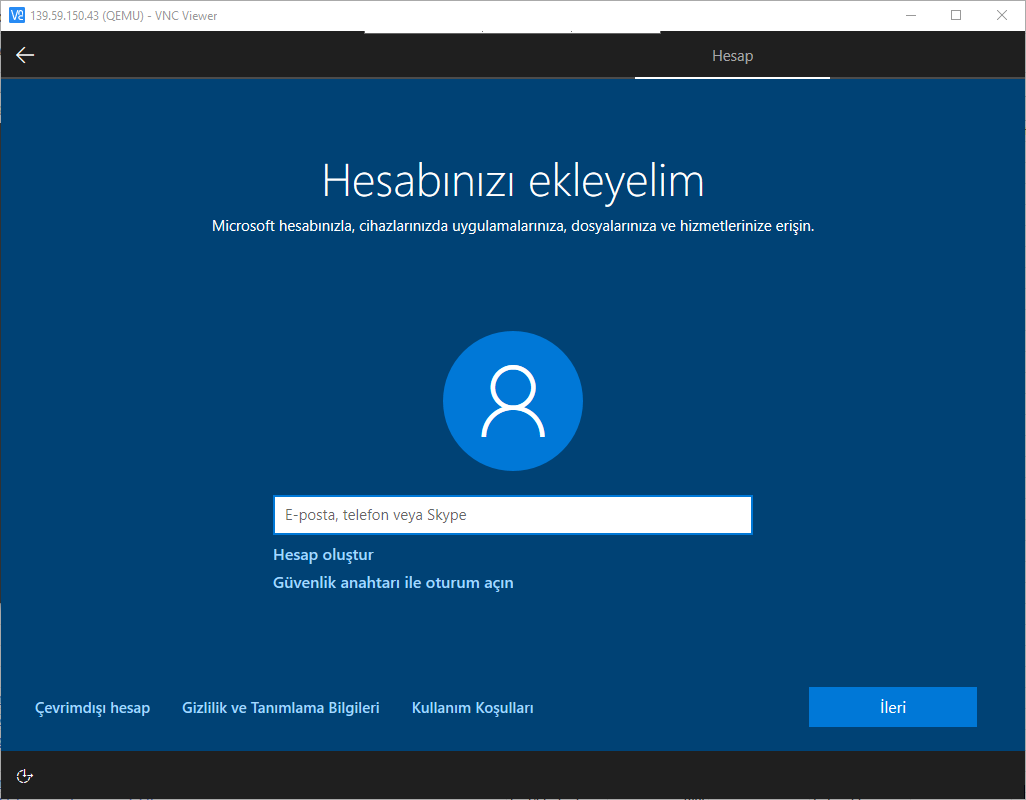
We click on the “Offline account” option at the bottom left on this screen. (You can enter if you have a Microsoft account instead)
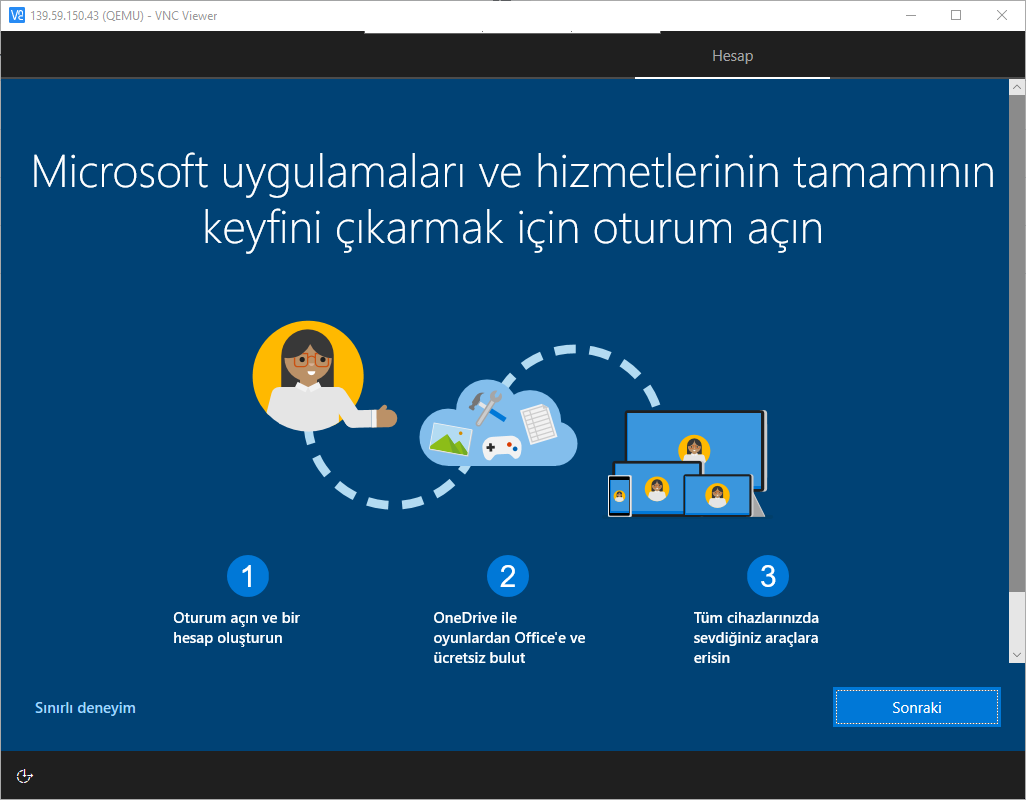
We can continue by clicking on the “Limited experience” option at the bottom left.
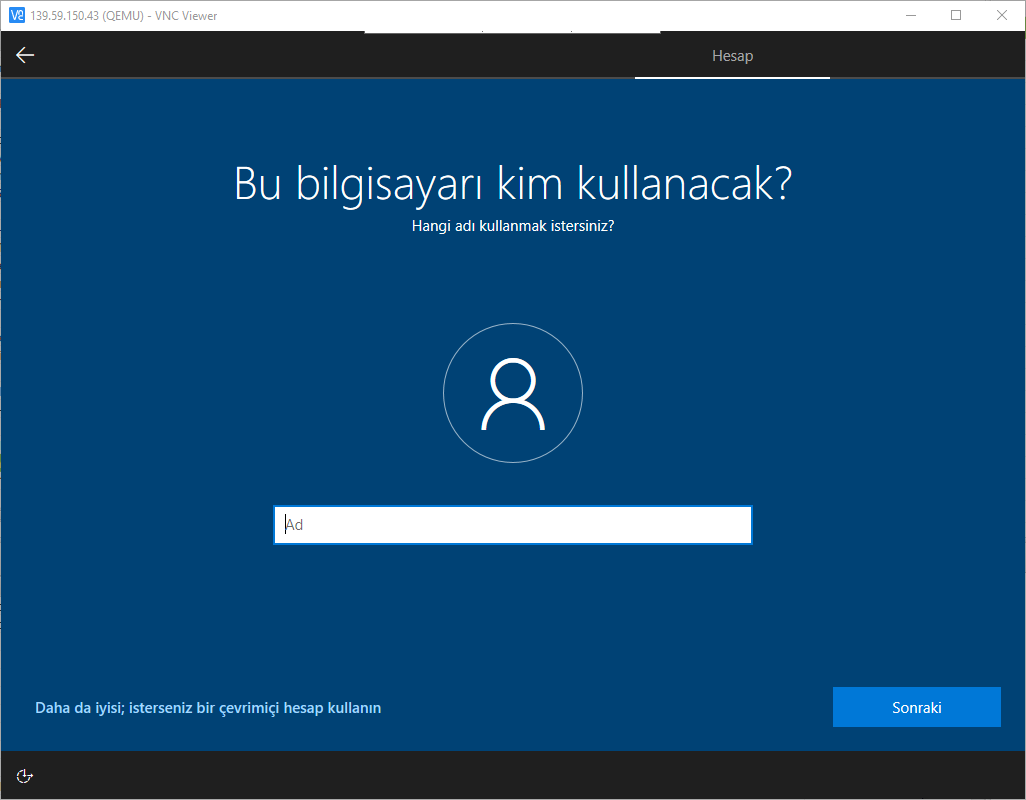
Let’s choose a name and click the “Next” button. On the next screen, let’s select our password and continue.
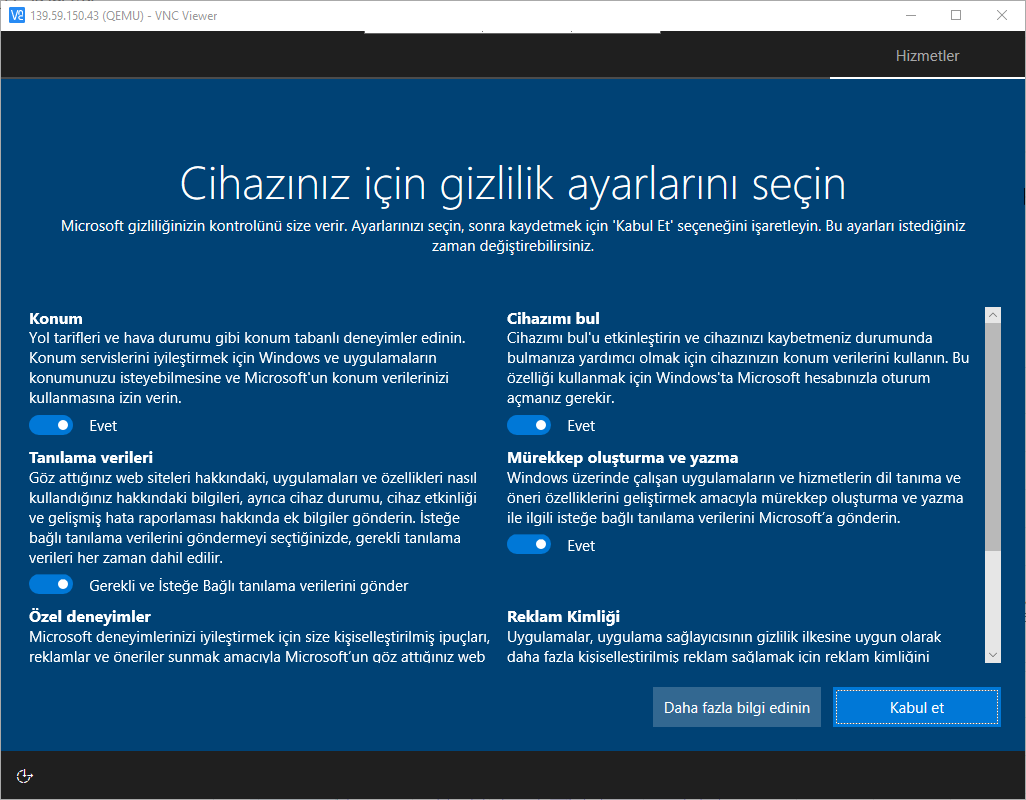
We can continue by clicking the “Accept” button.
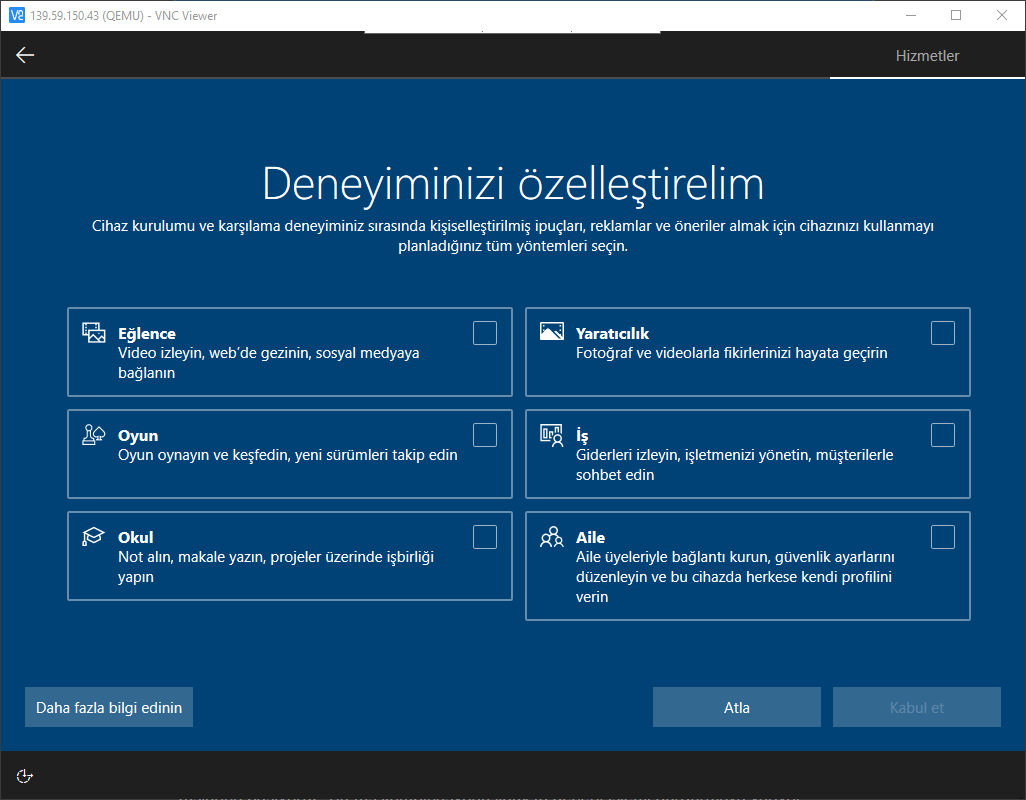
We can continue by clicking the “Skip” button.
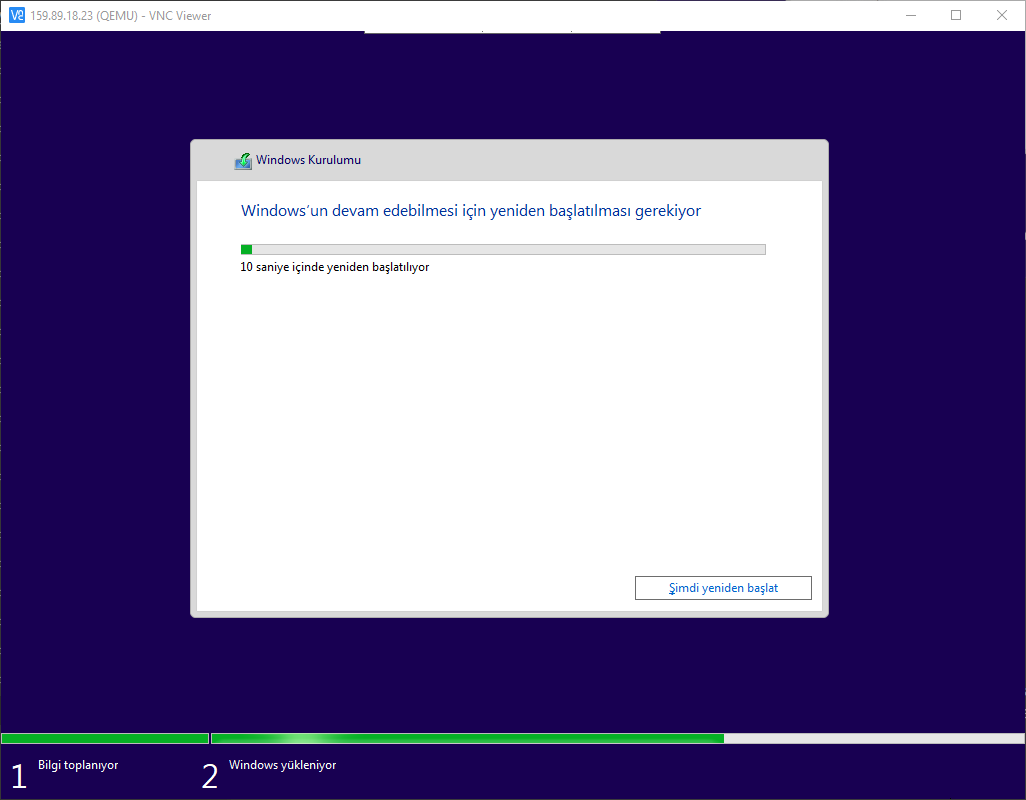
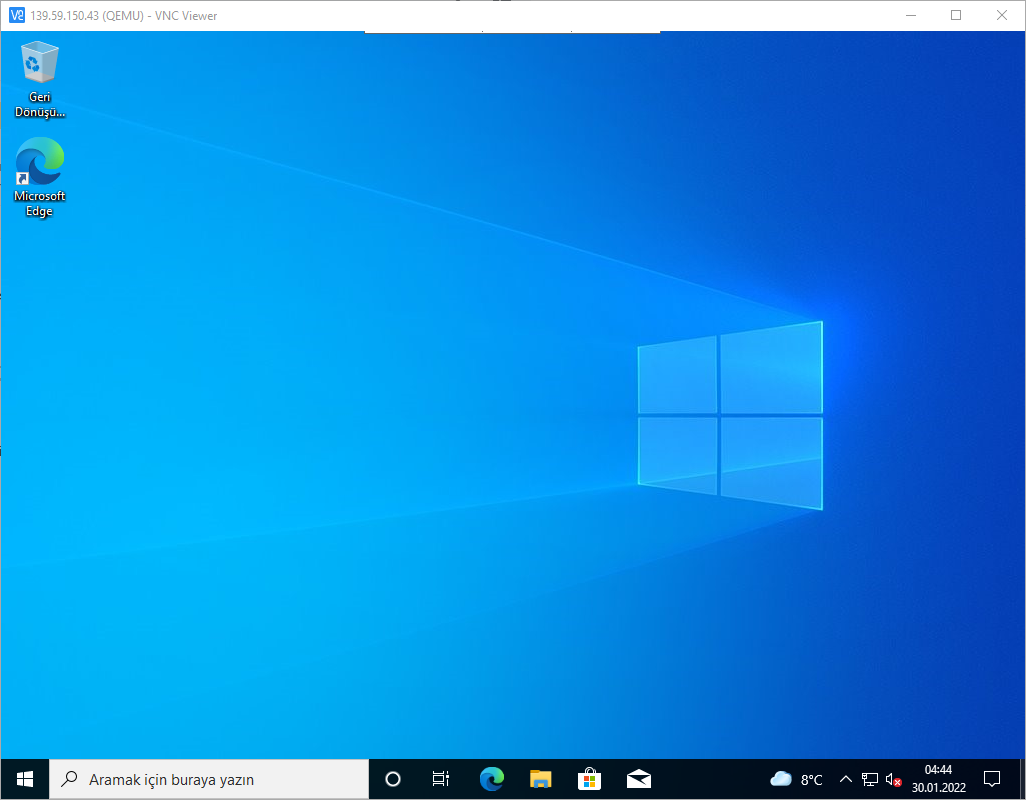
Installation is complete.
Now we go back to Putty to stop virtualization. And we press the “CTRL + C” keys. This key combination is used to control the current process in Linux.
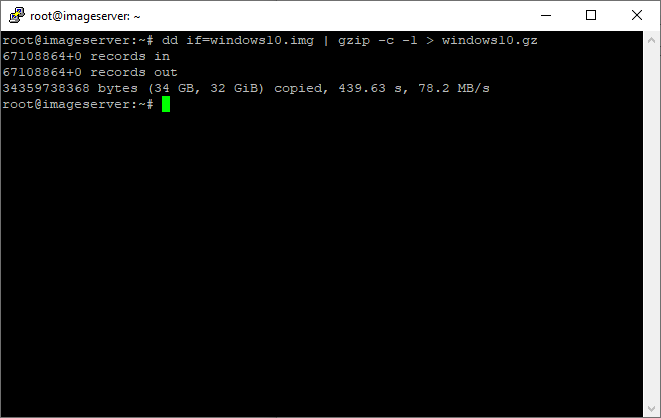
Now we compress our windows10.img file. We do this because the size of our windows10.img file is too large. (32GB in my example)
Since most of this file is empty, we compress it smaller. The compression process may take some time.
The dd command is used for backup. We show the source with the if parameter. Our target is windows10.gz.
We compress the data and copy it from the destination to the source using the gzip command. The gzip -c option secures the head without removing it.
The gzip -1 parameter, on the other hand, is used to compress with maximum speed and minimum compression. We use 1 because our file size is large. If we do not write 1, the default value is 6. We can use a maximum compression value of 9.
dd if=windows10.img | gzip -c -1> windows10.gz
This process takes some time. It took me about 8 minutes. You can see the screen you will see when it is completed below. The compressed file is 5.5 GB in size.
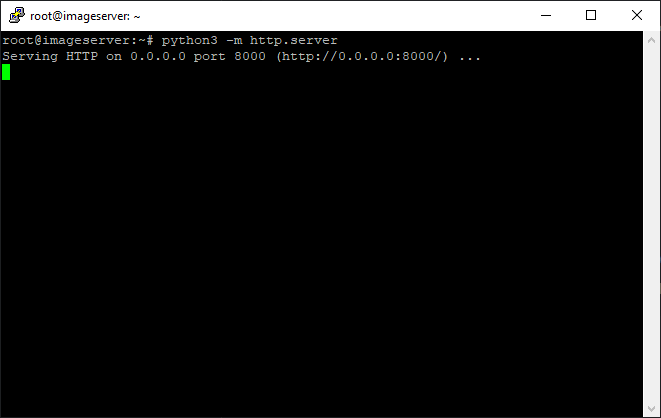
We start HTTP.server to transfer our windows10.gz file to the setup server. So we will be able to download it from this link: http://139.59.150.43:8000/windows10.gz.
python3 -m HTTP.server
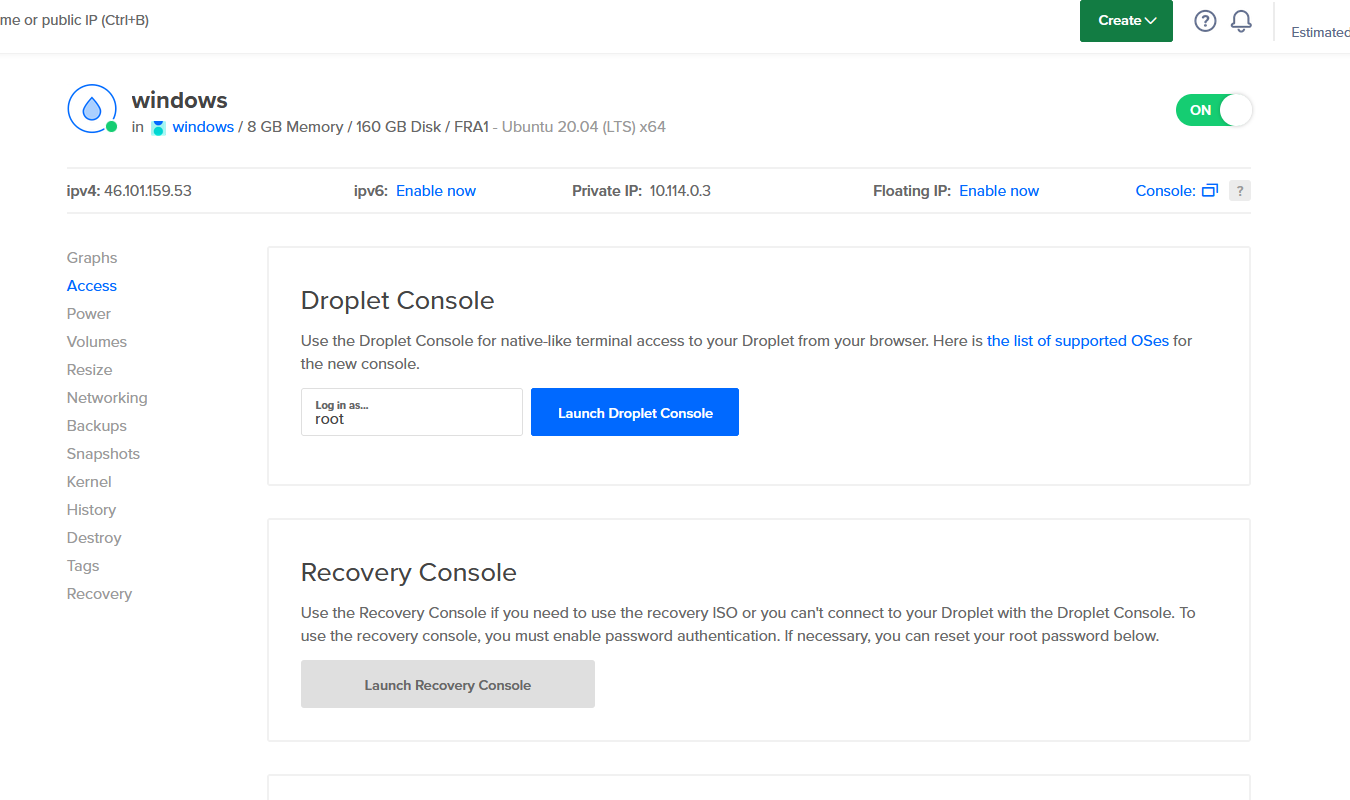
Installing windows 10 on digitalocean with the uploaded image file
Now let’s prepare the server where we will install Windows. You can see sample settings below.
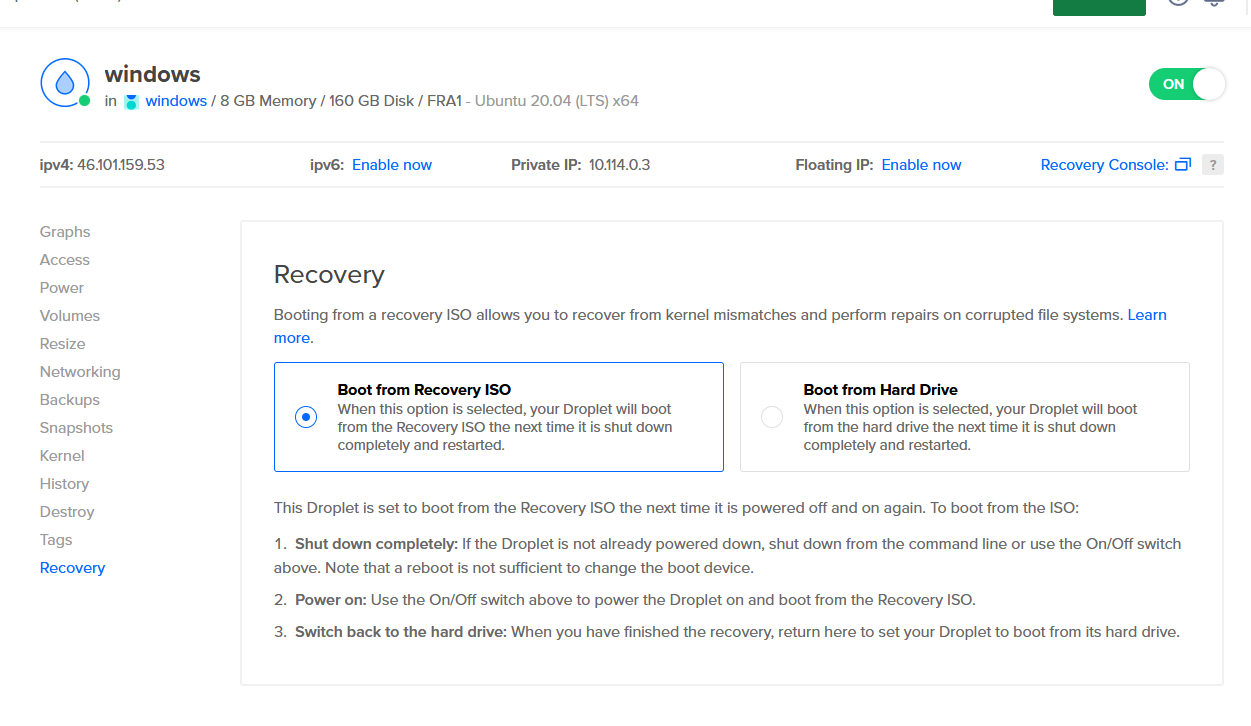
We come to the recovery tab of the Windows Droplet we opened. We activate the “Boot from Recovery ISO” option.

Then press the “on” button in the upper right.

We pass the warning by pressing the “Turn off” button.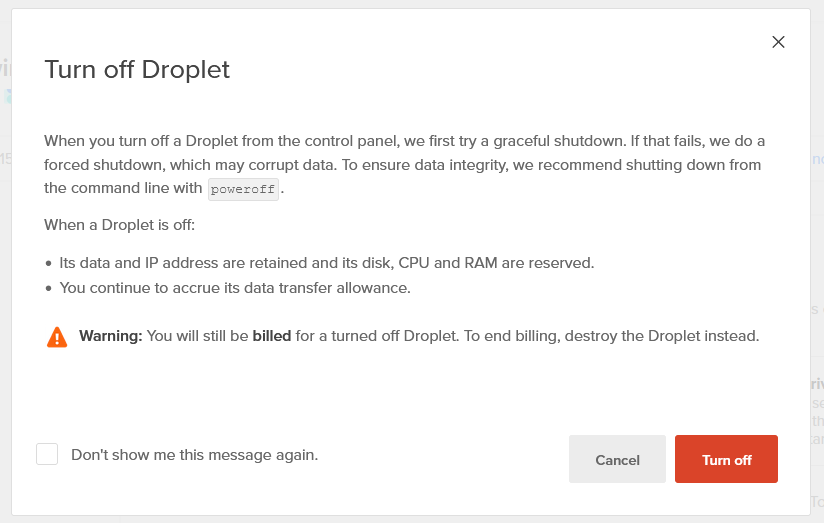
We turn the server back on by pressing the “Off” button.

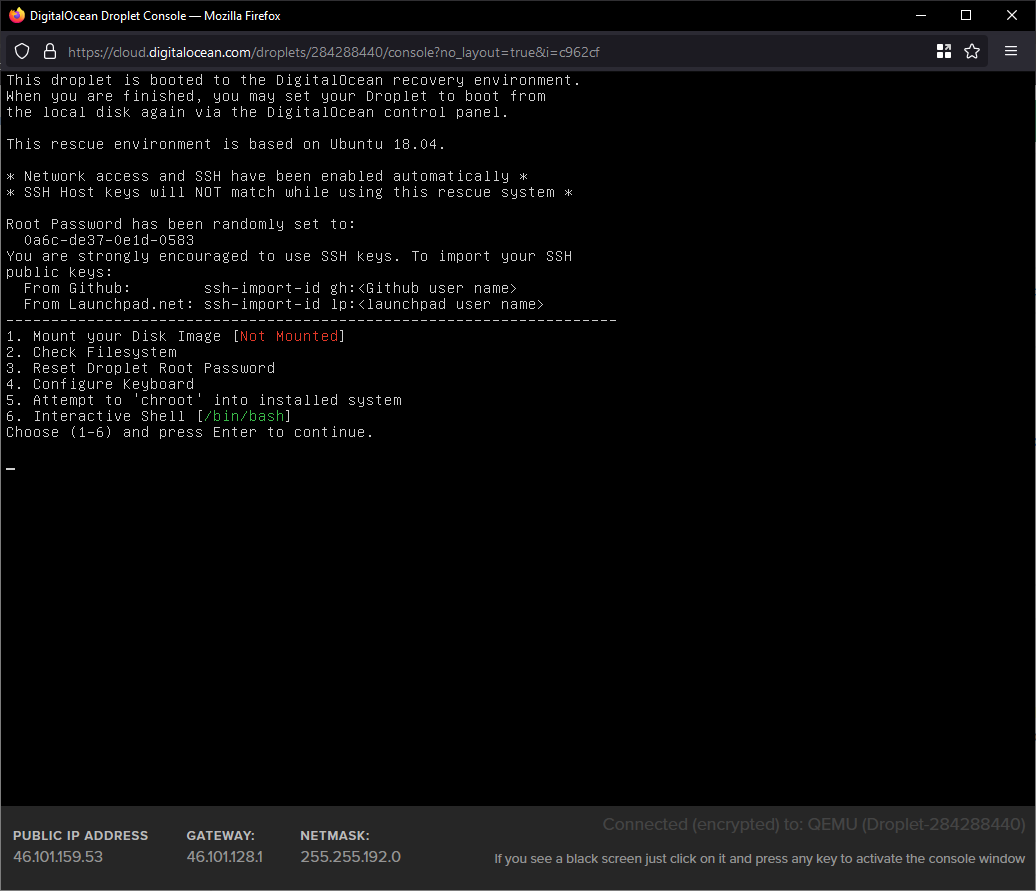
Now we click on the “Recovery Console” button on the same screen.

We will encounter this screen. Type 6 and press enter.
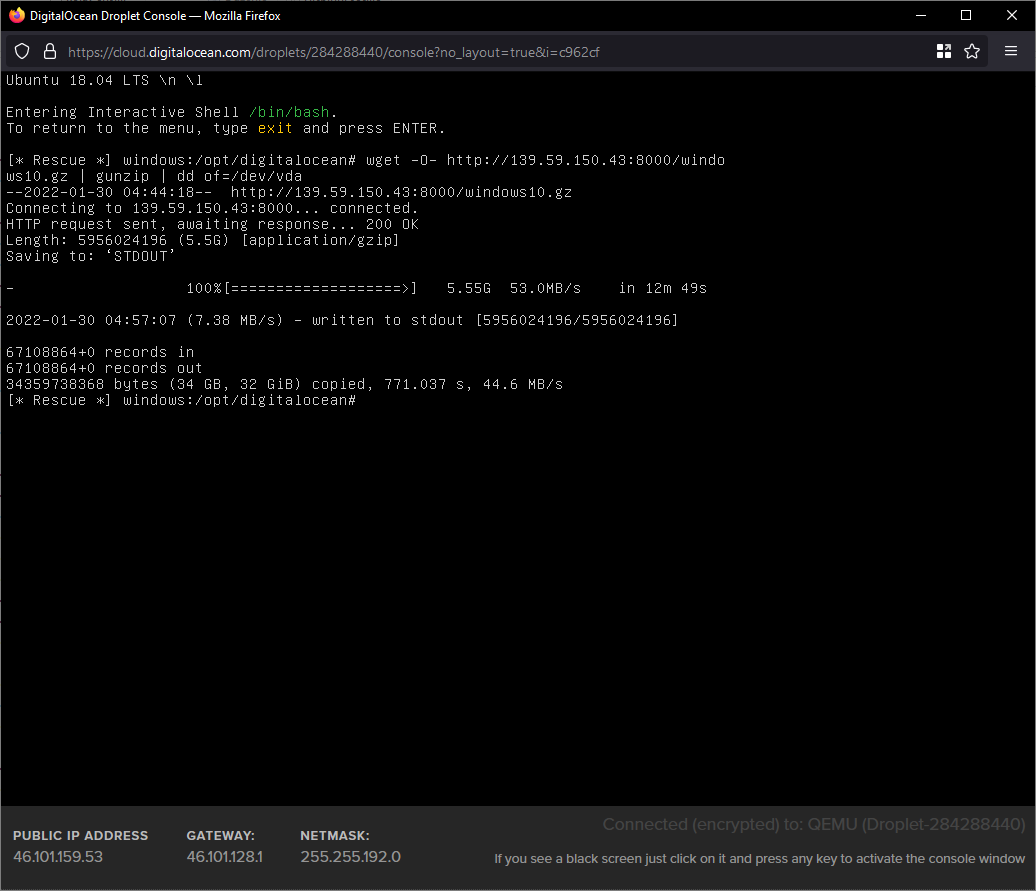
We will download the windows10.gz file to the server; we prepared it using the wget command. We will unzip the file with Gunzip. Then we will write the image to dev/vda disk with dd.
wget -O- http://imageserver:8000/windows10.gz | gunzip | dd of=/dev/vda
wget -O- http://139.59.150.43:8000/windows10.gz | gunzip | dd of=/dev/vda

Process completed.
We will put the server back into “Boot from Hard Drive” mode. We will turn off the server by pressing the “ON” button. After closing, we will turn it back on by pressing the “OFF” button.
Now we will click on the “Launch Recovery Console” button under the “Access” tab to access the server.
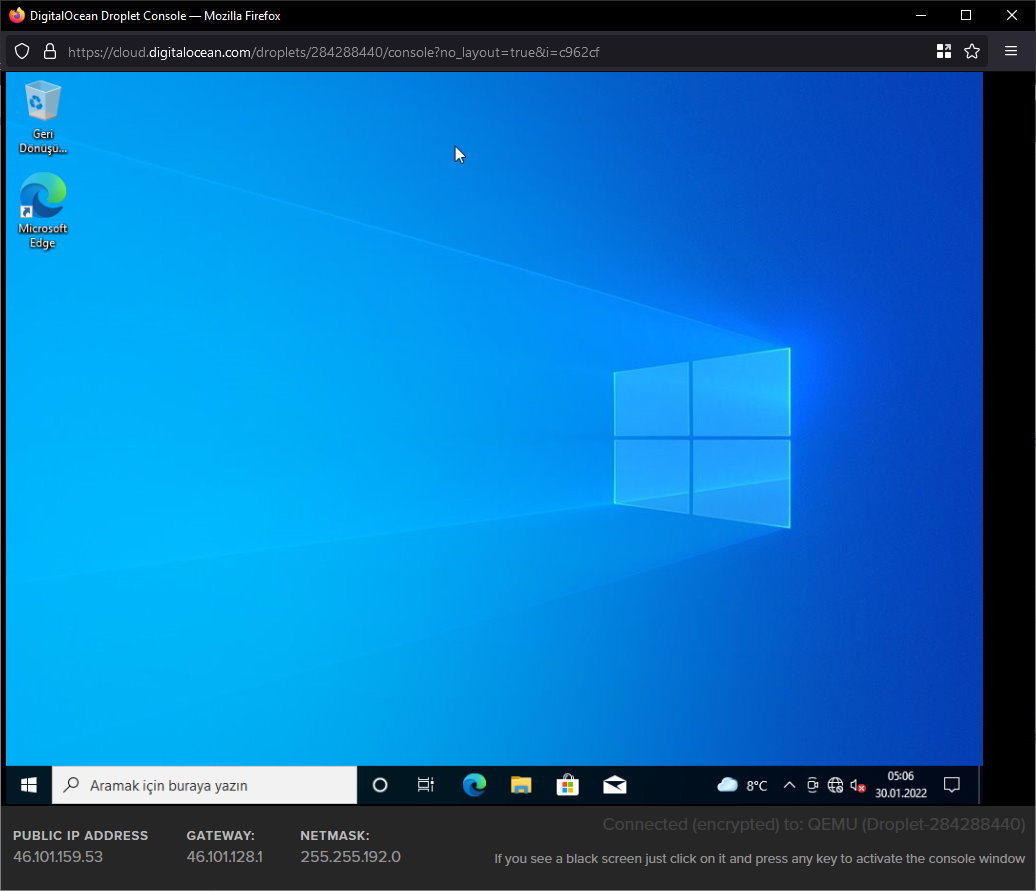
Windows booted normally.
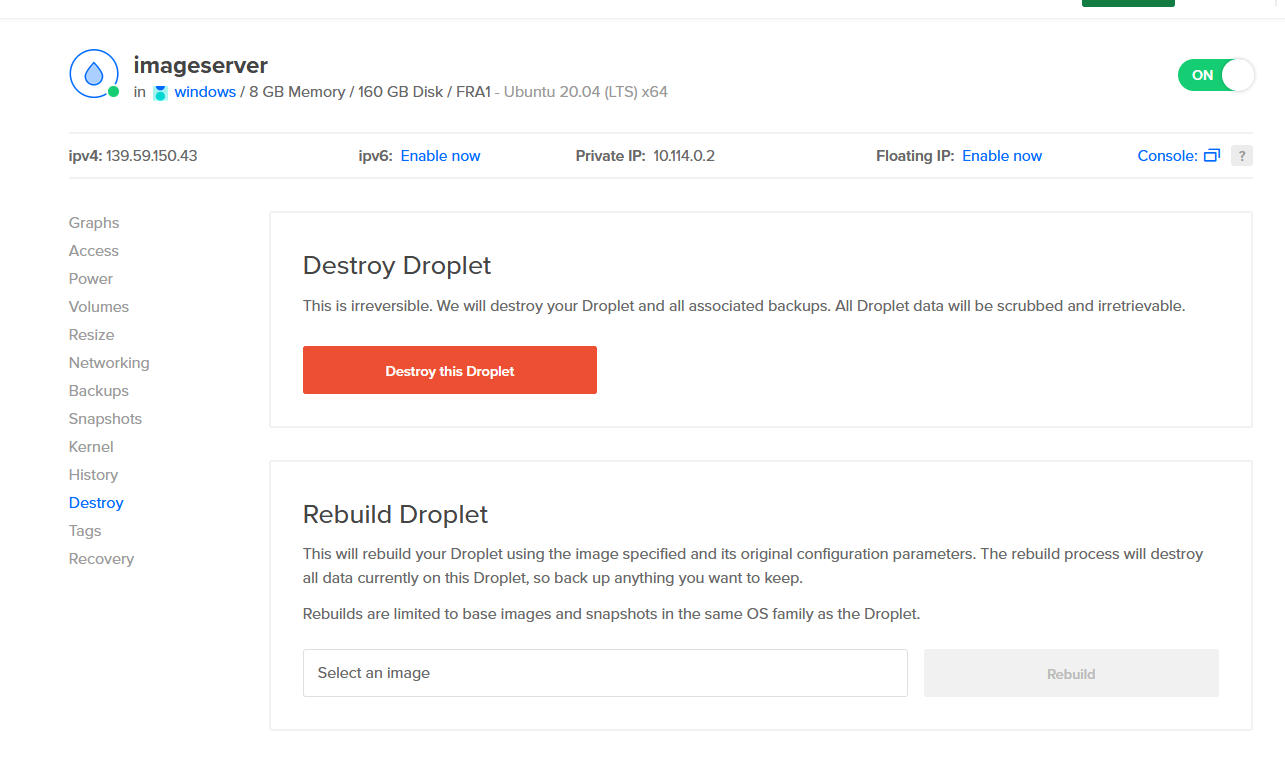
We no longer need the imageserver server. Go to the Imageserver droplet and click “Destroy this Droplet” from the “Destroy” tab. We continue the warning by saying “confirm”.
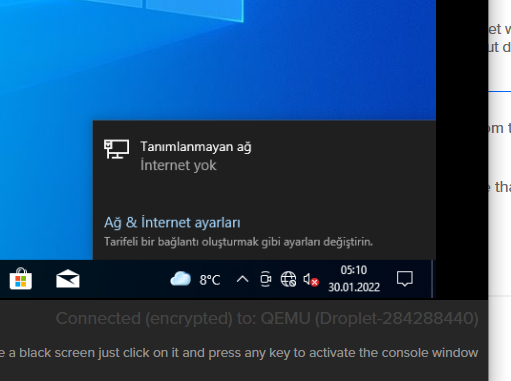
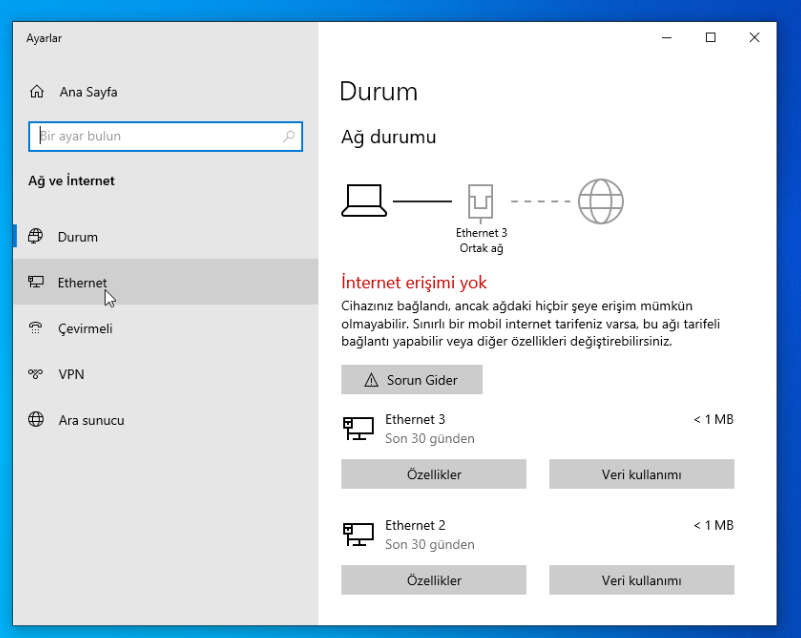
Now we will configure the network settings of the server. Click on the network icon at the bottom right of the screen. Then click the “Network & Internet settings” button.
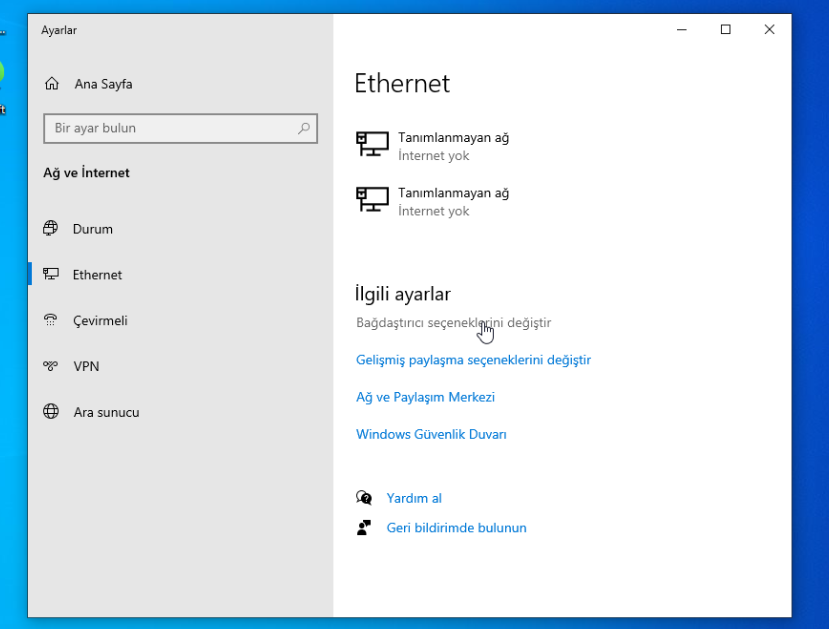
Then click on the “Ethernet” tab.
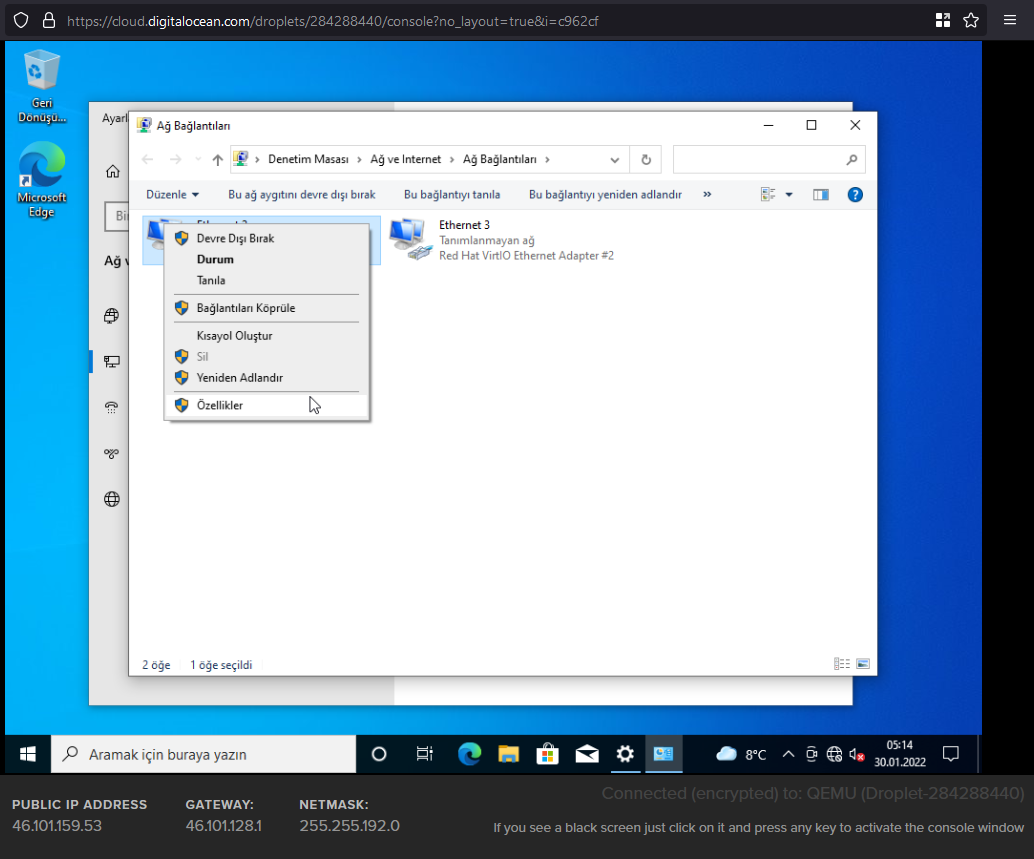
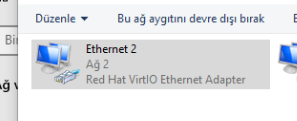
Click on “Change adapter options”.
Right-click on an adapter and click “Properties”.
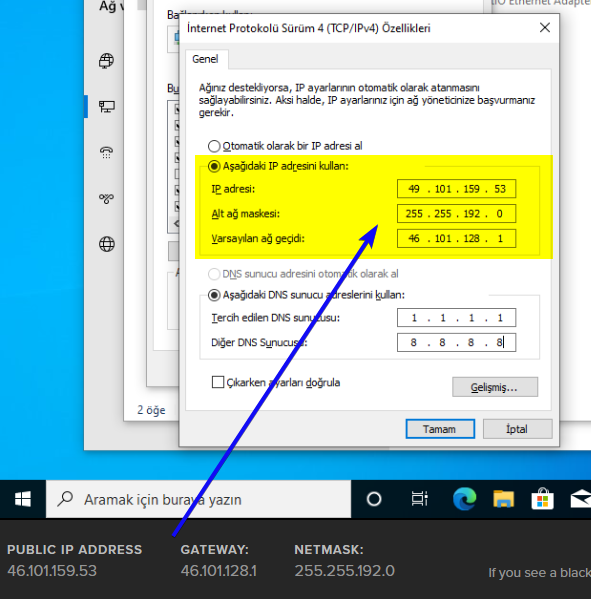
Double-click on “Internet Protocol Version 4 (TCP/IPv4)”.
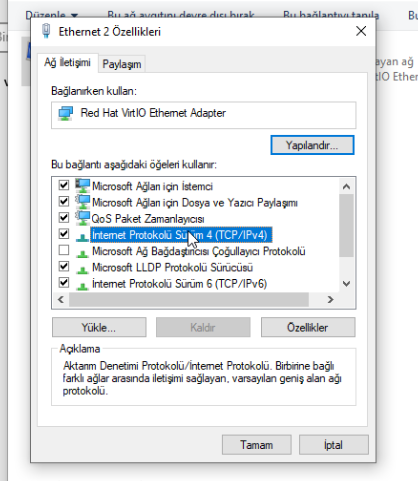
We fill in the IP addresses using the information written at the bottom of the screen. Enter the DNS addresses 1.1.1.1 and 8.8.8.8 and click the “OK” button.
We are now connected to the internet.
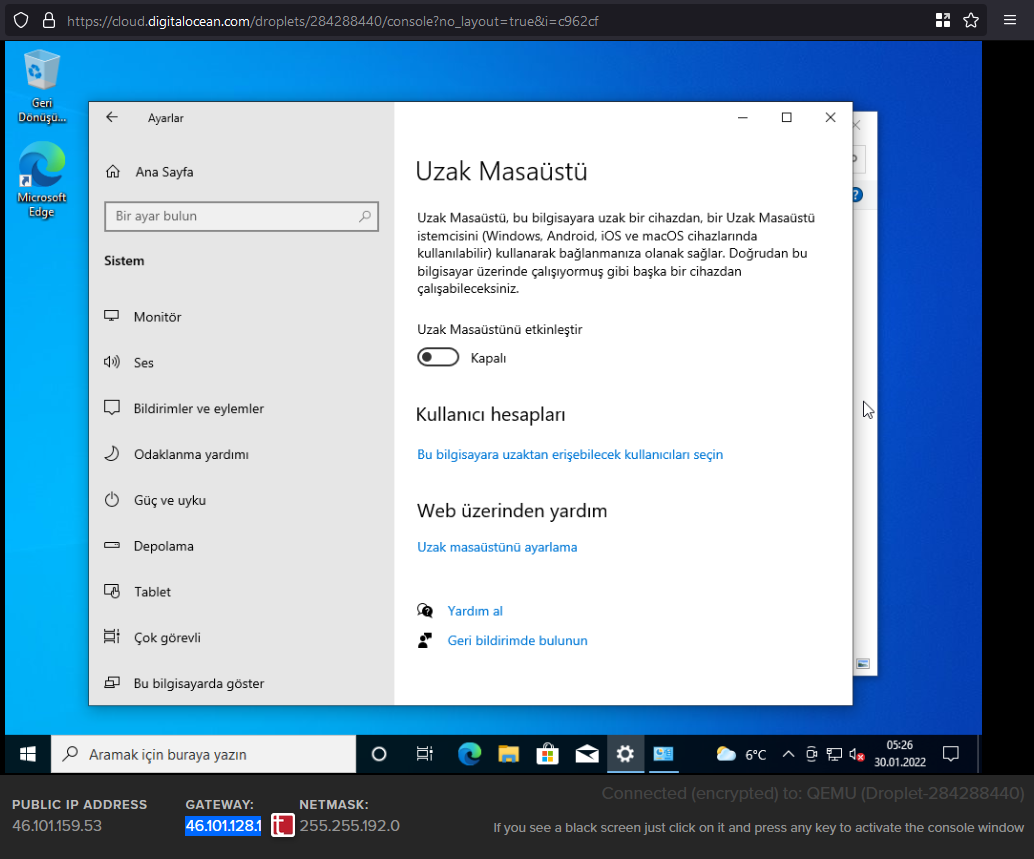
Now we will make the necessary settings to make a remote desktop. At the start, we will write “remote desktop settings”. It’s okay if no Turkish characters appear; type “remote table,” and you will see it in the results.

We click on the switch that says “Off” to enable remote desktop. We continue the warning by saying, “Confirm”.
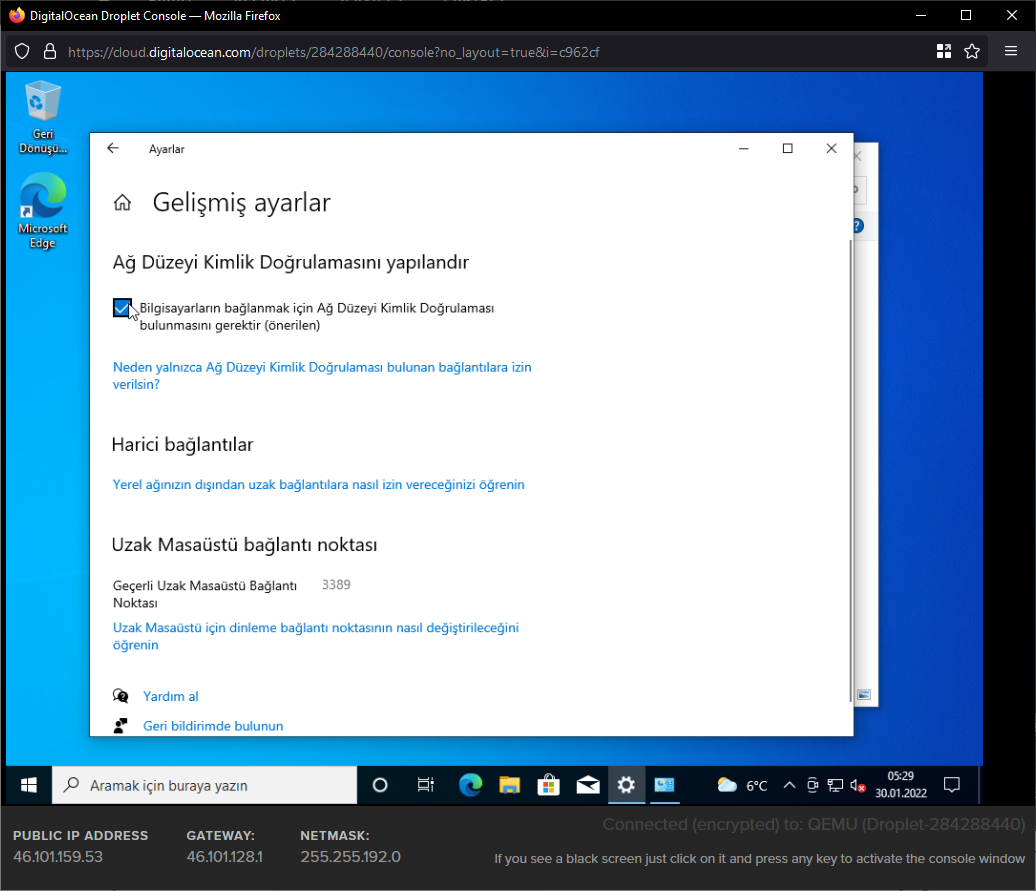
Click on “Advanced settings” from the same screen.
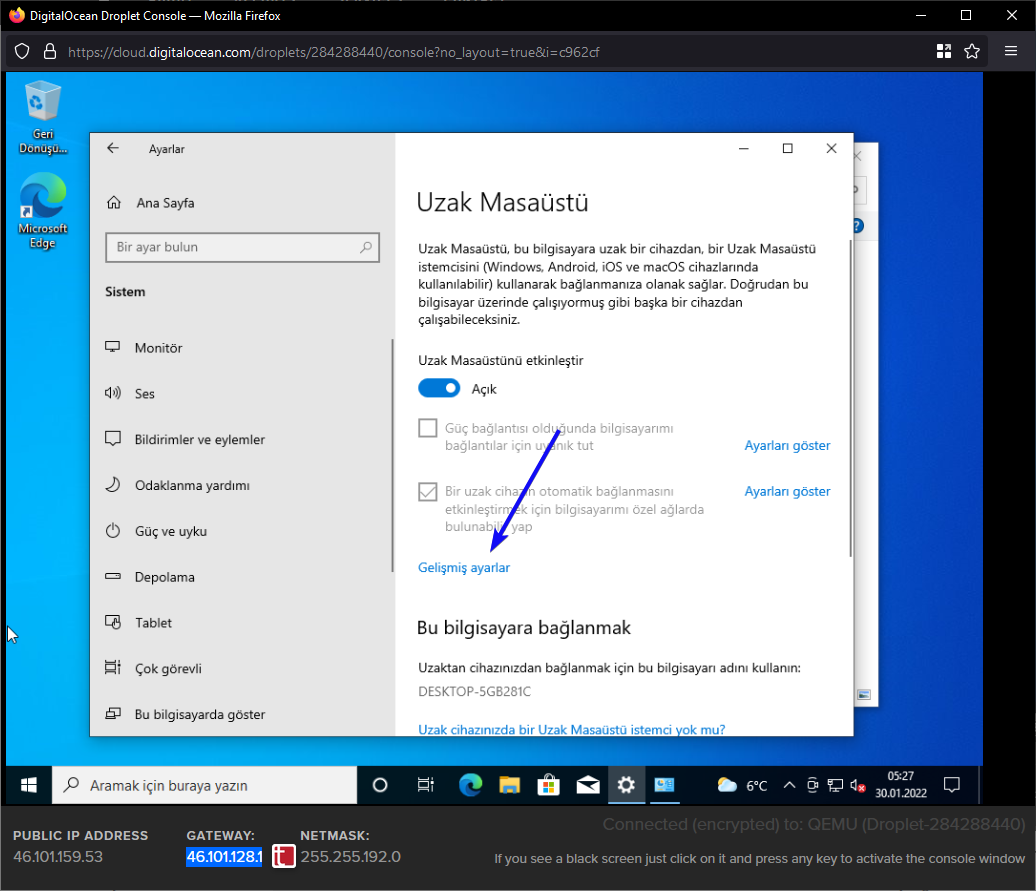
We’re removing the box in front of “Computers require Network Level Authentication to connect (recommended)”. We continue the warning by saying, “Proceed anyway”.
Now we can connect to the server with Microsoft’s own remote desktop software.
You can download the software here.
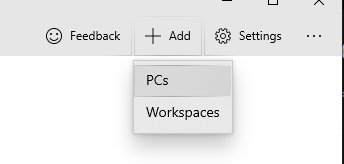
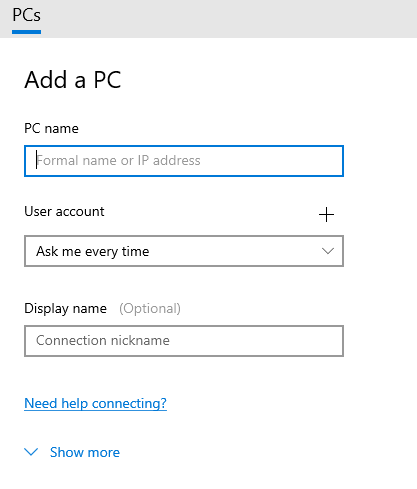
We press the “Add” and then the “PC” buttons in the upper right corner of the software.
We enter our IP address and click save.
Now we can use our server.